Onboarding Guide
APItoolkit is an API-first monitoring and observability platform for engineering and customer support teams. We use AI to help engineering teams observe, manage, monitor, and test their backend systems and any external API they depend on. When you integrate APItoolkit into your application, you gain access to different features out-of-the-box, including but not limited to API Monitoring and Observability, Error Tracking, Anomalies Detection, API Log Explorer, API Testing, API Management, API Analytics, Automatic OpenAPI Spec Generation, and even more coming (we are always shipping!).
In this guide, we will walk you through the process of integrating APItoolkit into your API application. You will learn all the steps required to set up your account, fetch an API key, integrate with our SDK, and start monitoring requests on your API. If you prefer a video guide, here’s one for you:
Getting Started
There are five steps required to get started with APItoolkit and begin exploring and analyzing requests from your API in our dashboard:
① Create an Account
Kindly visit this page to create a new account. When you are there, you can choose to sign up with either your Google or GitHub account or your email address. If you choose to sign up with Google or GitHub, you will be redirected to the respective authentication page to authorize APItoolkit. If you choose to sign up with your email address, you will need to provide your email address and a strong password in the input fields as seen in the screenshot below.
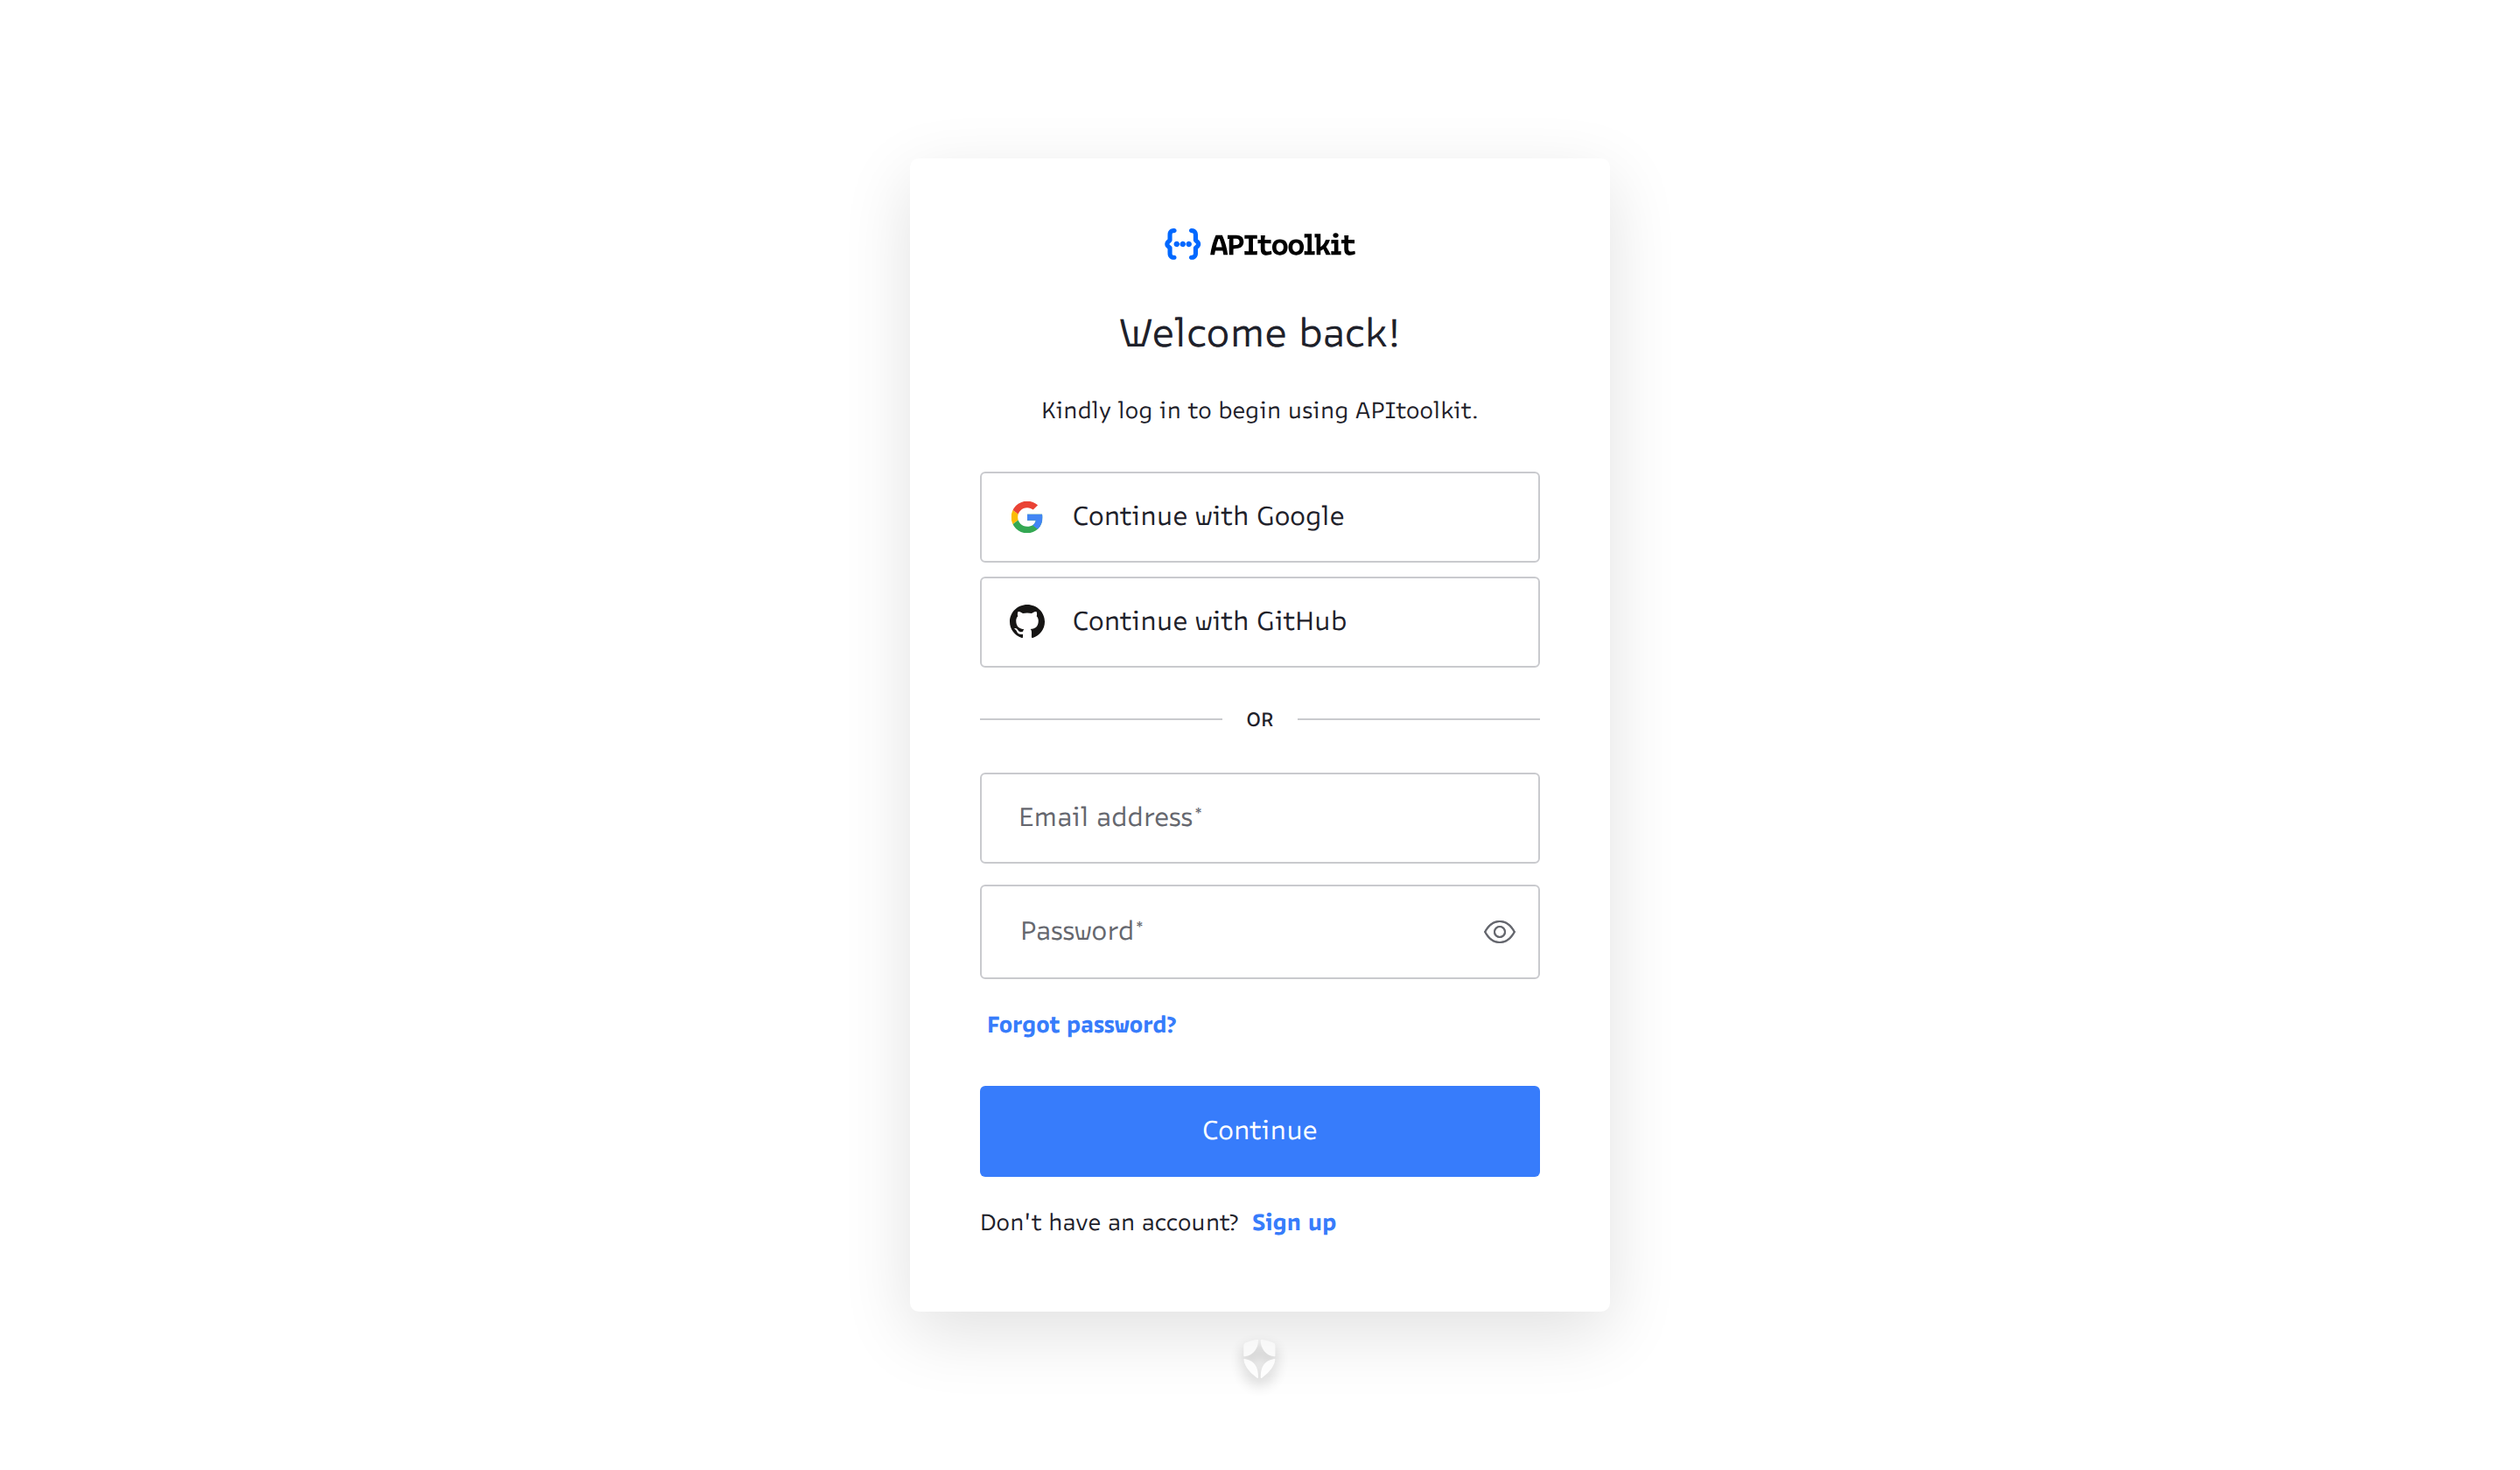
Once you are done providing the required values, click on the Continue button. Your account will then be created and you will be redirected to the APItoolkit dashboard.
② Create a New Project
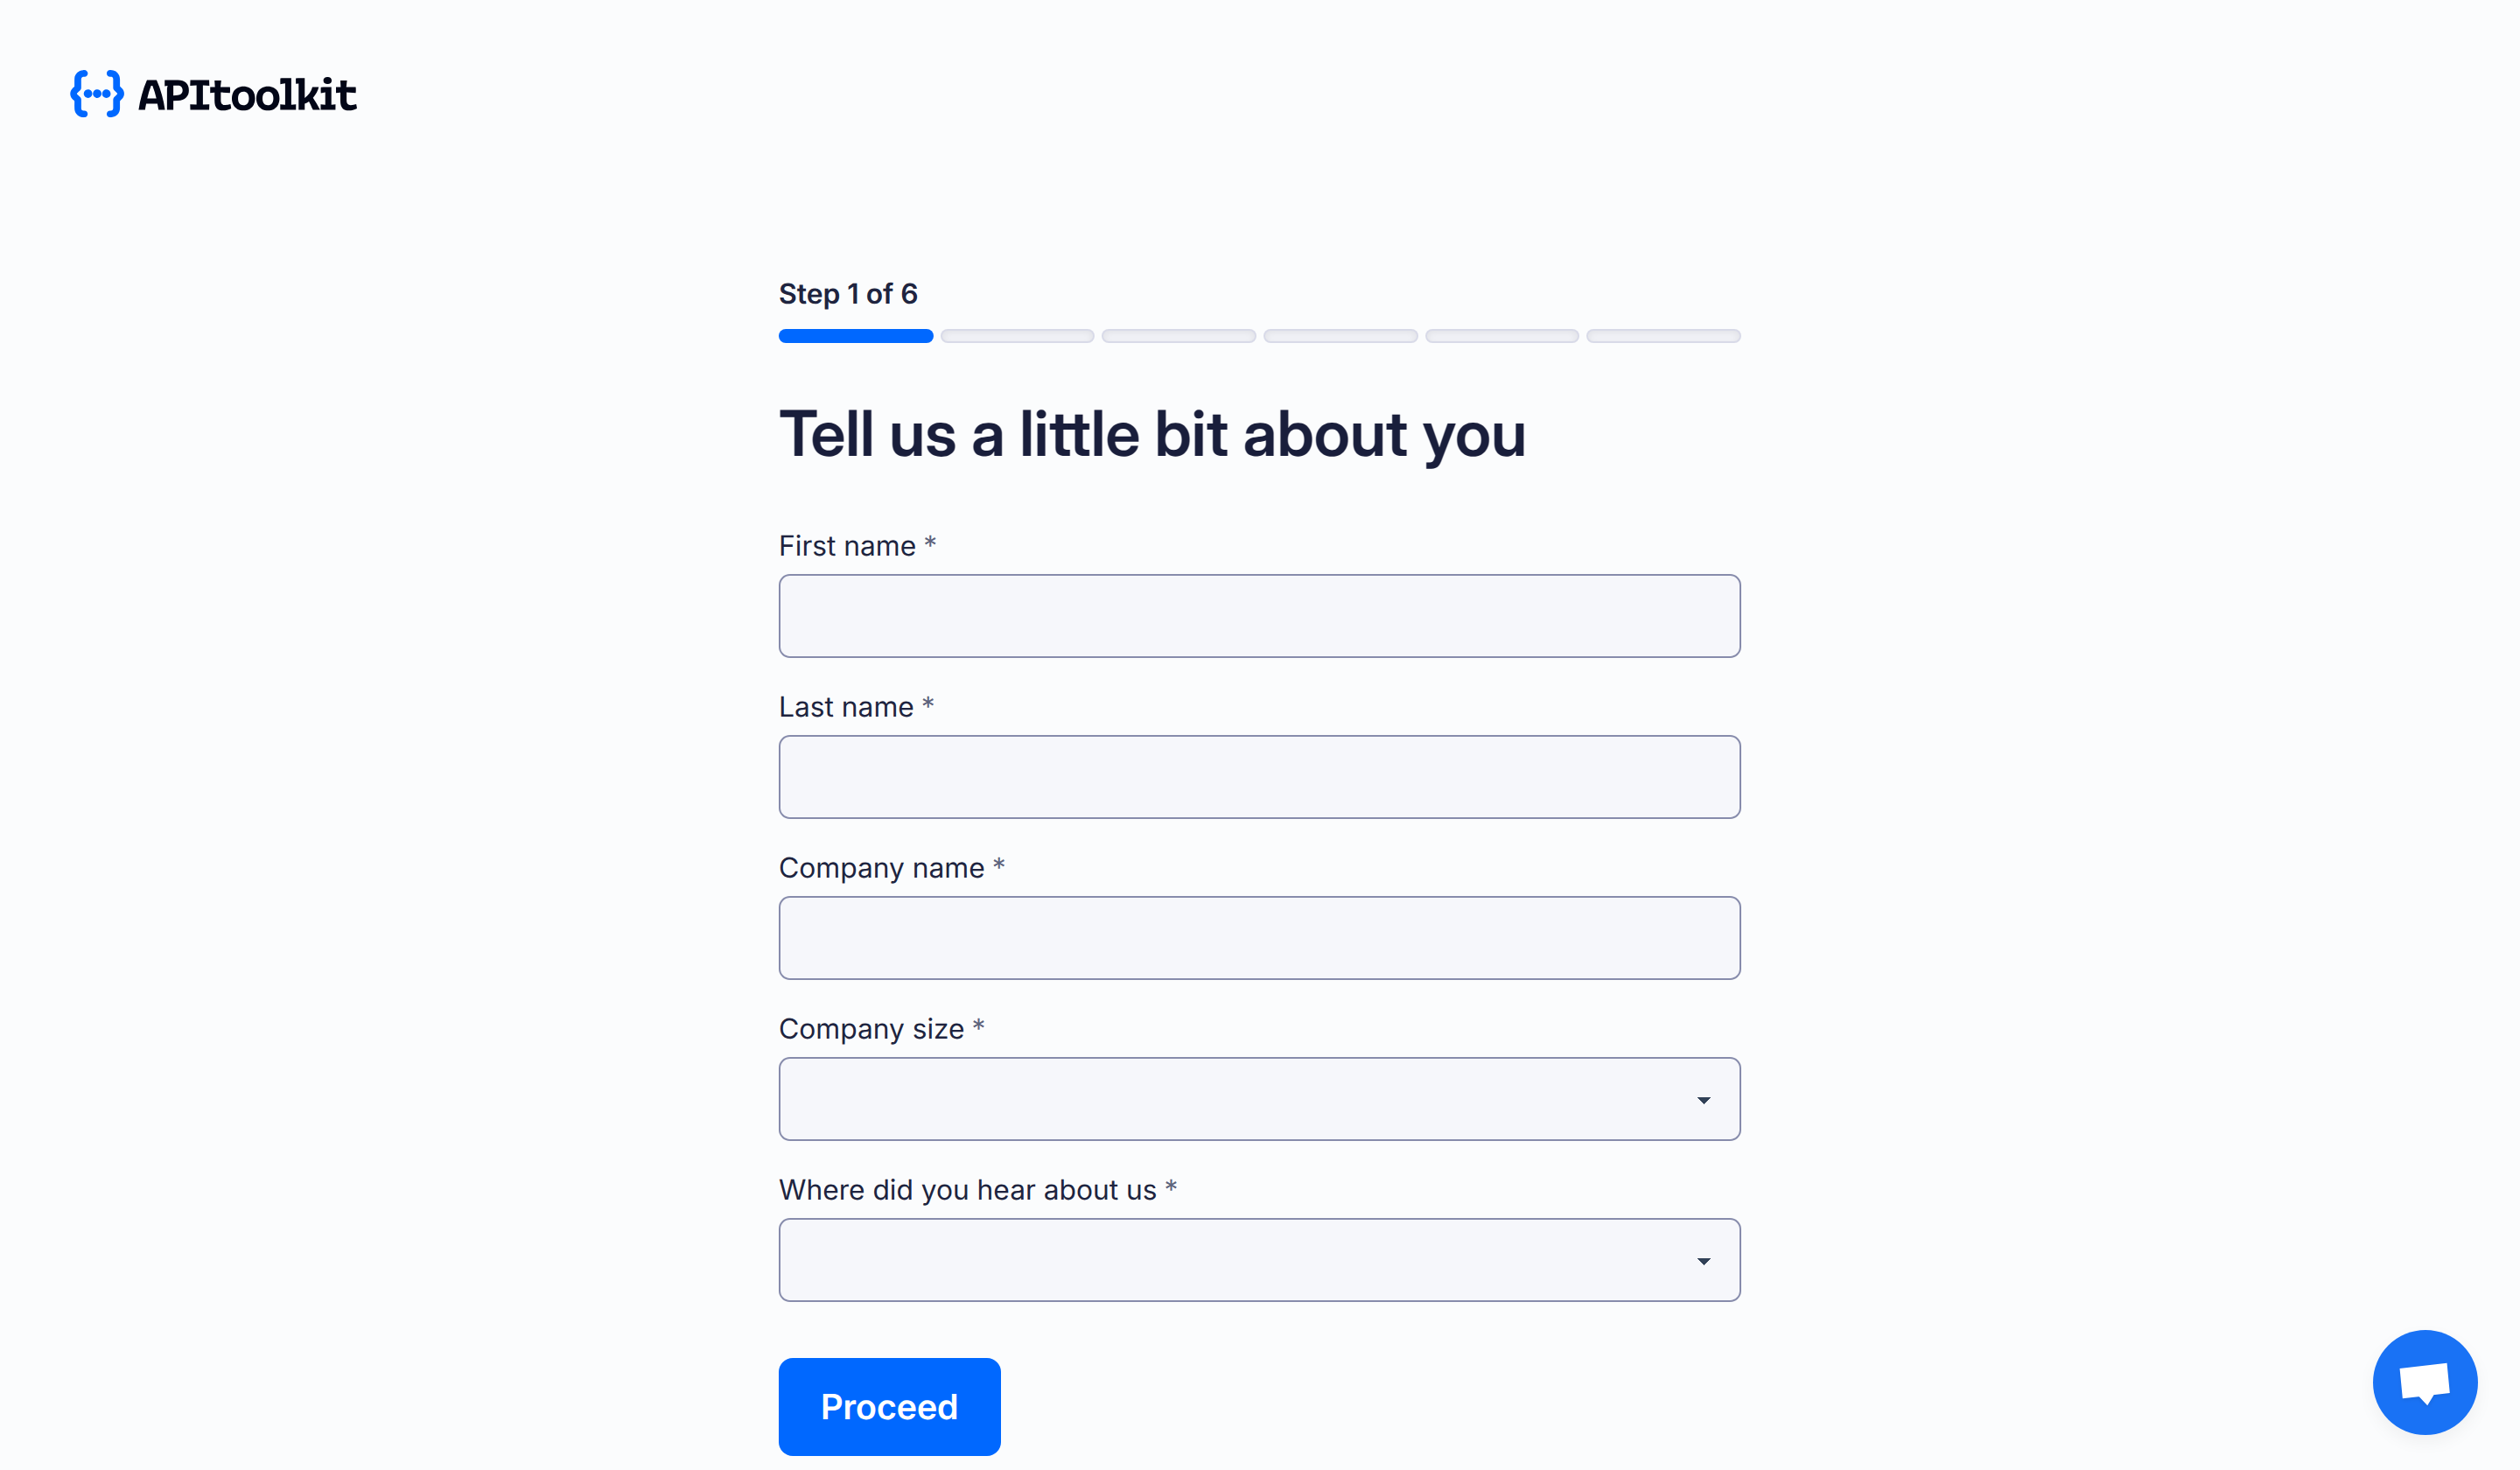
Once you are redirected to the dashboard, you have to create a new project to begin using APItoolkit. Kindly provide the values requested in the form as listed below. You can always update any of these values later.
-
About you: A quick survey that helps us gives better service to users.
-
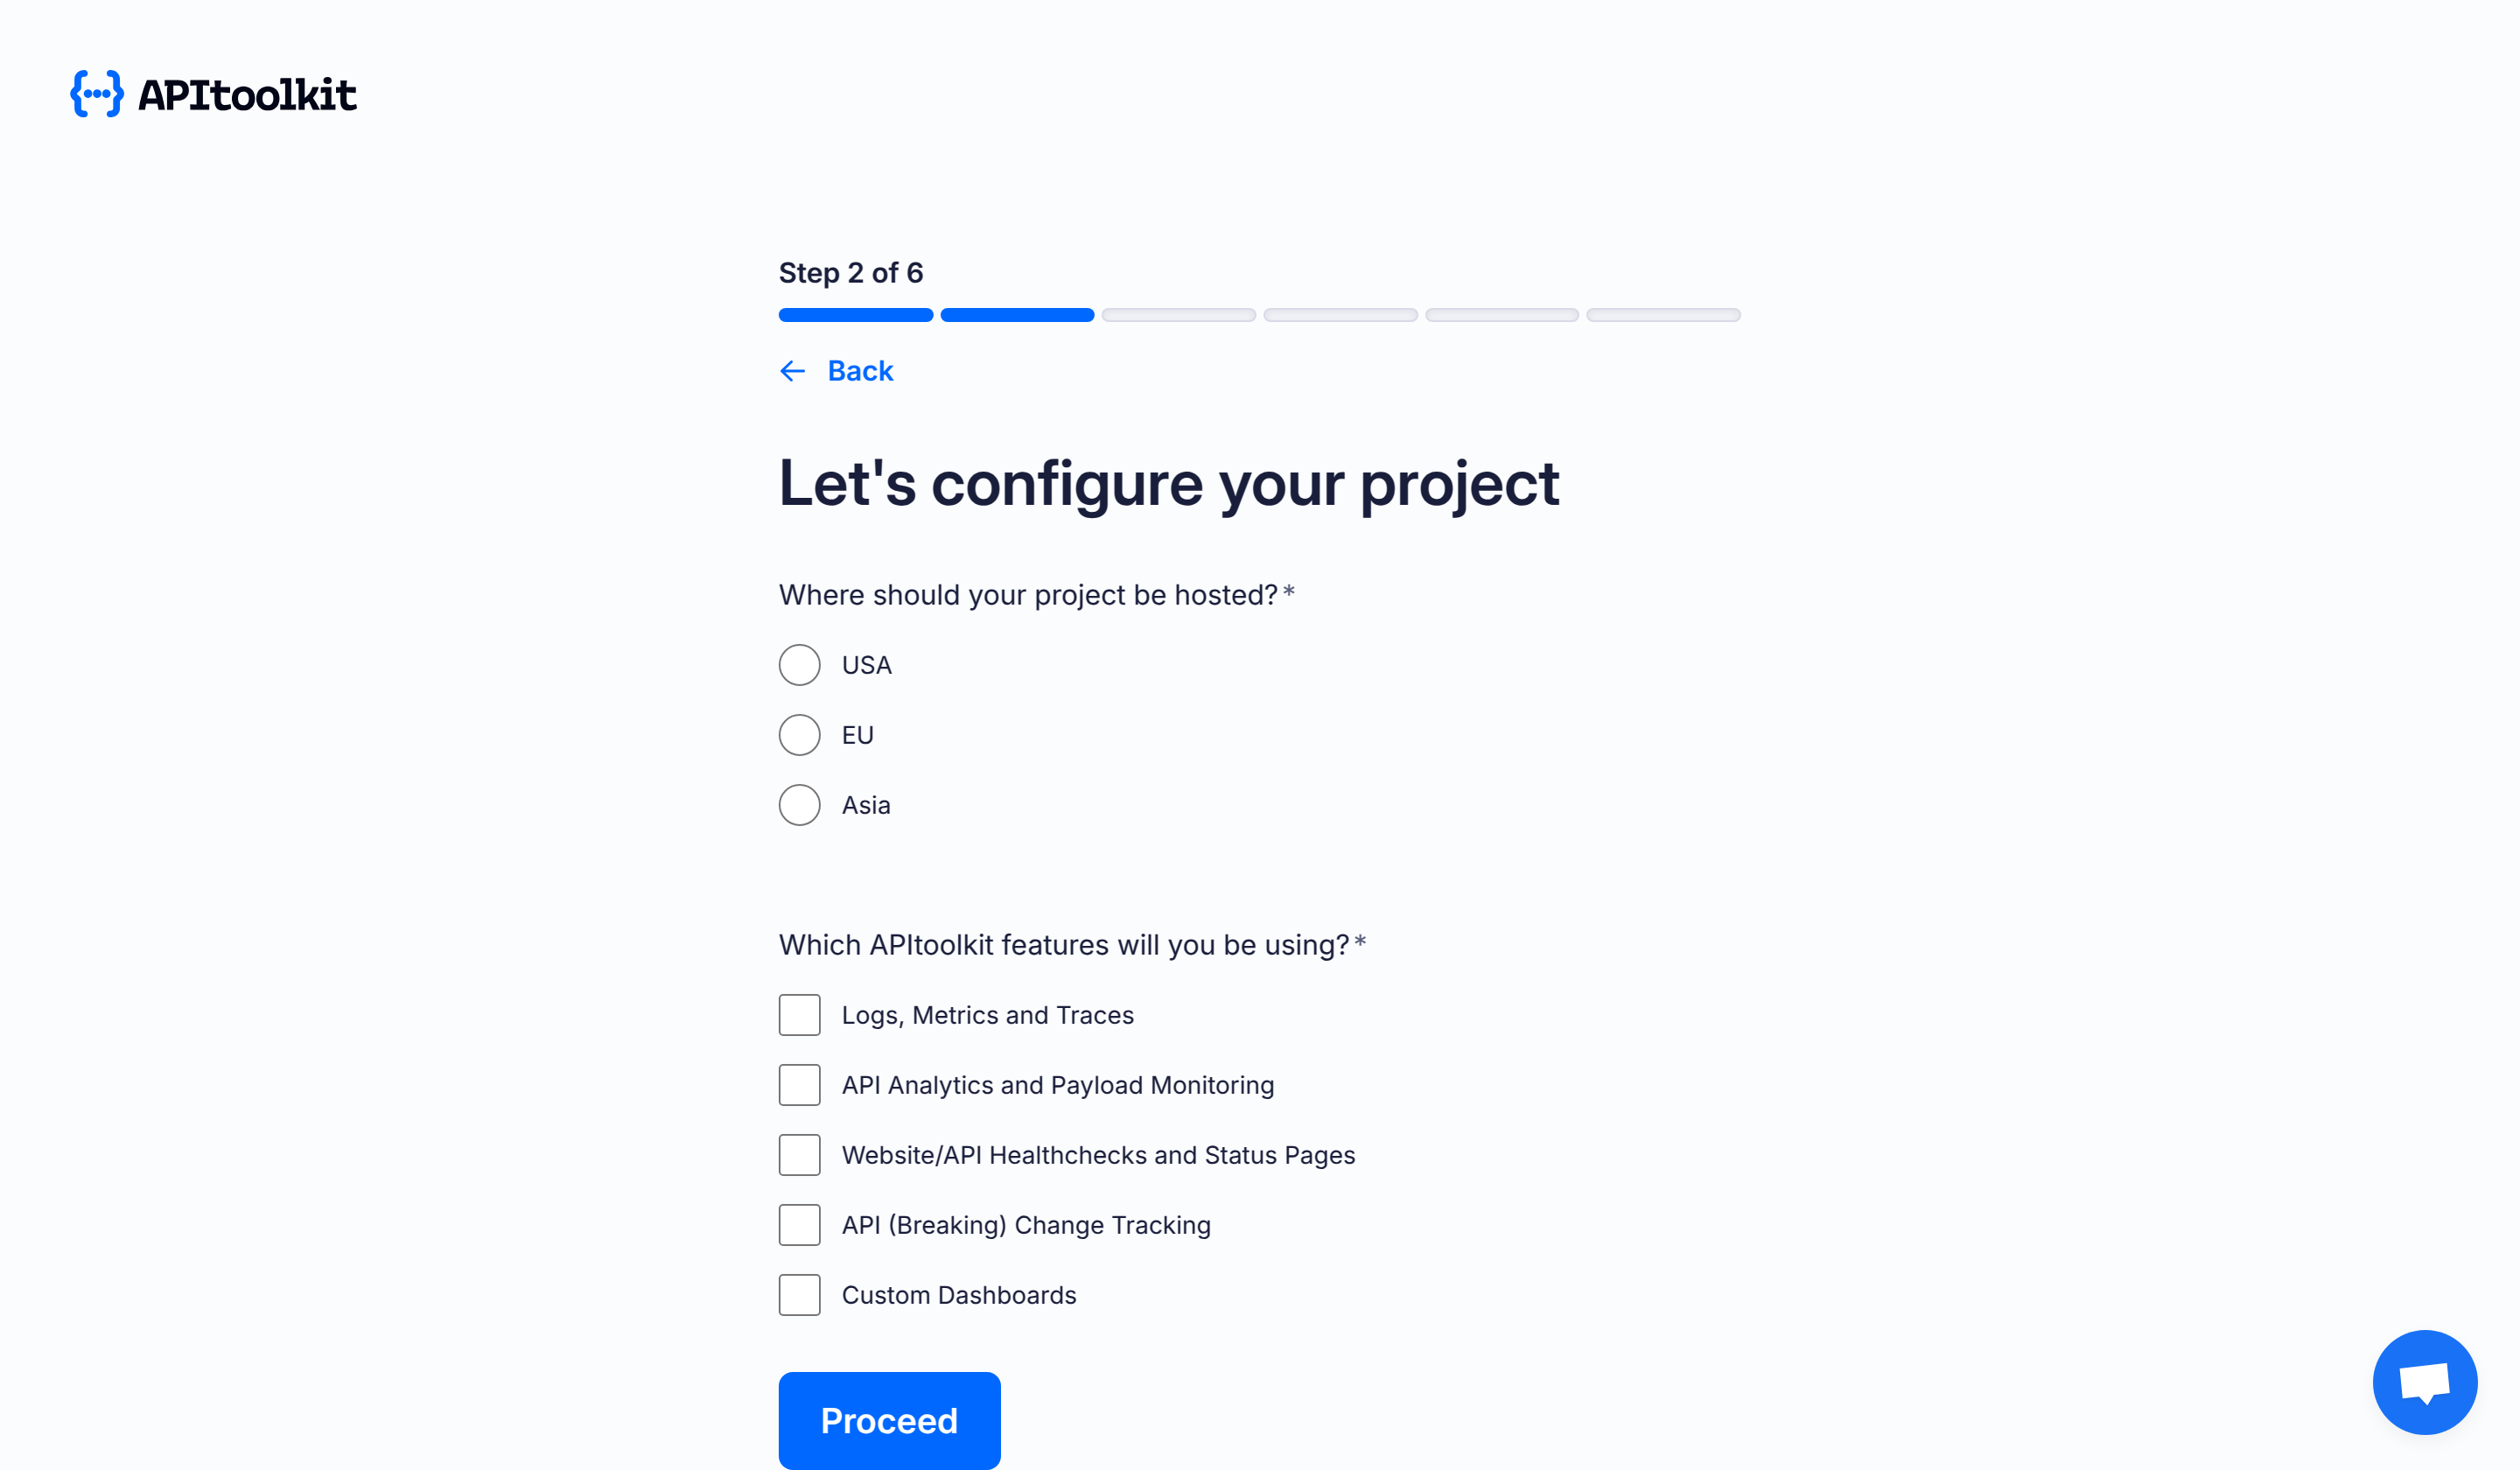
Setup project: Choose a server location and the features you’ll be exploring.
-
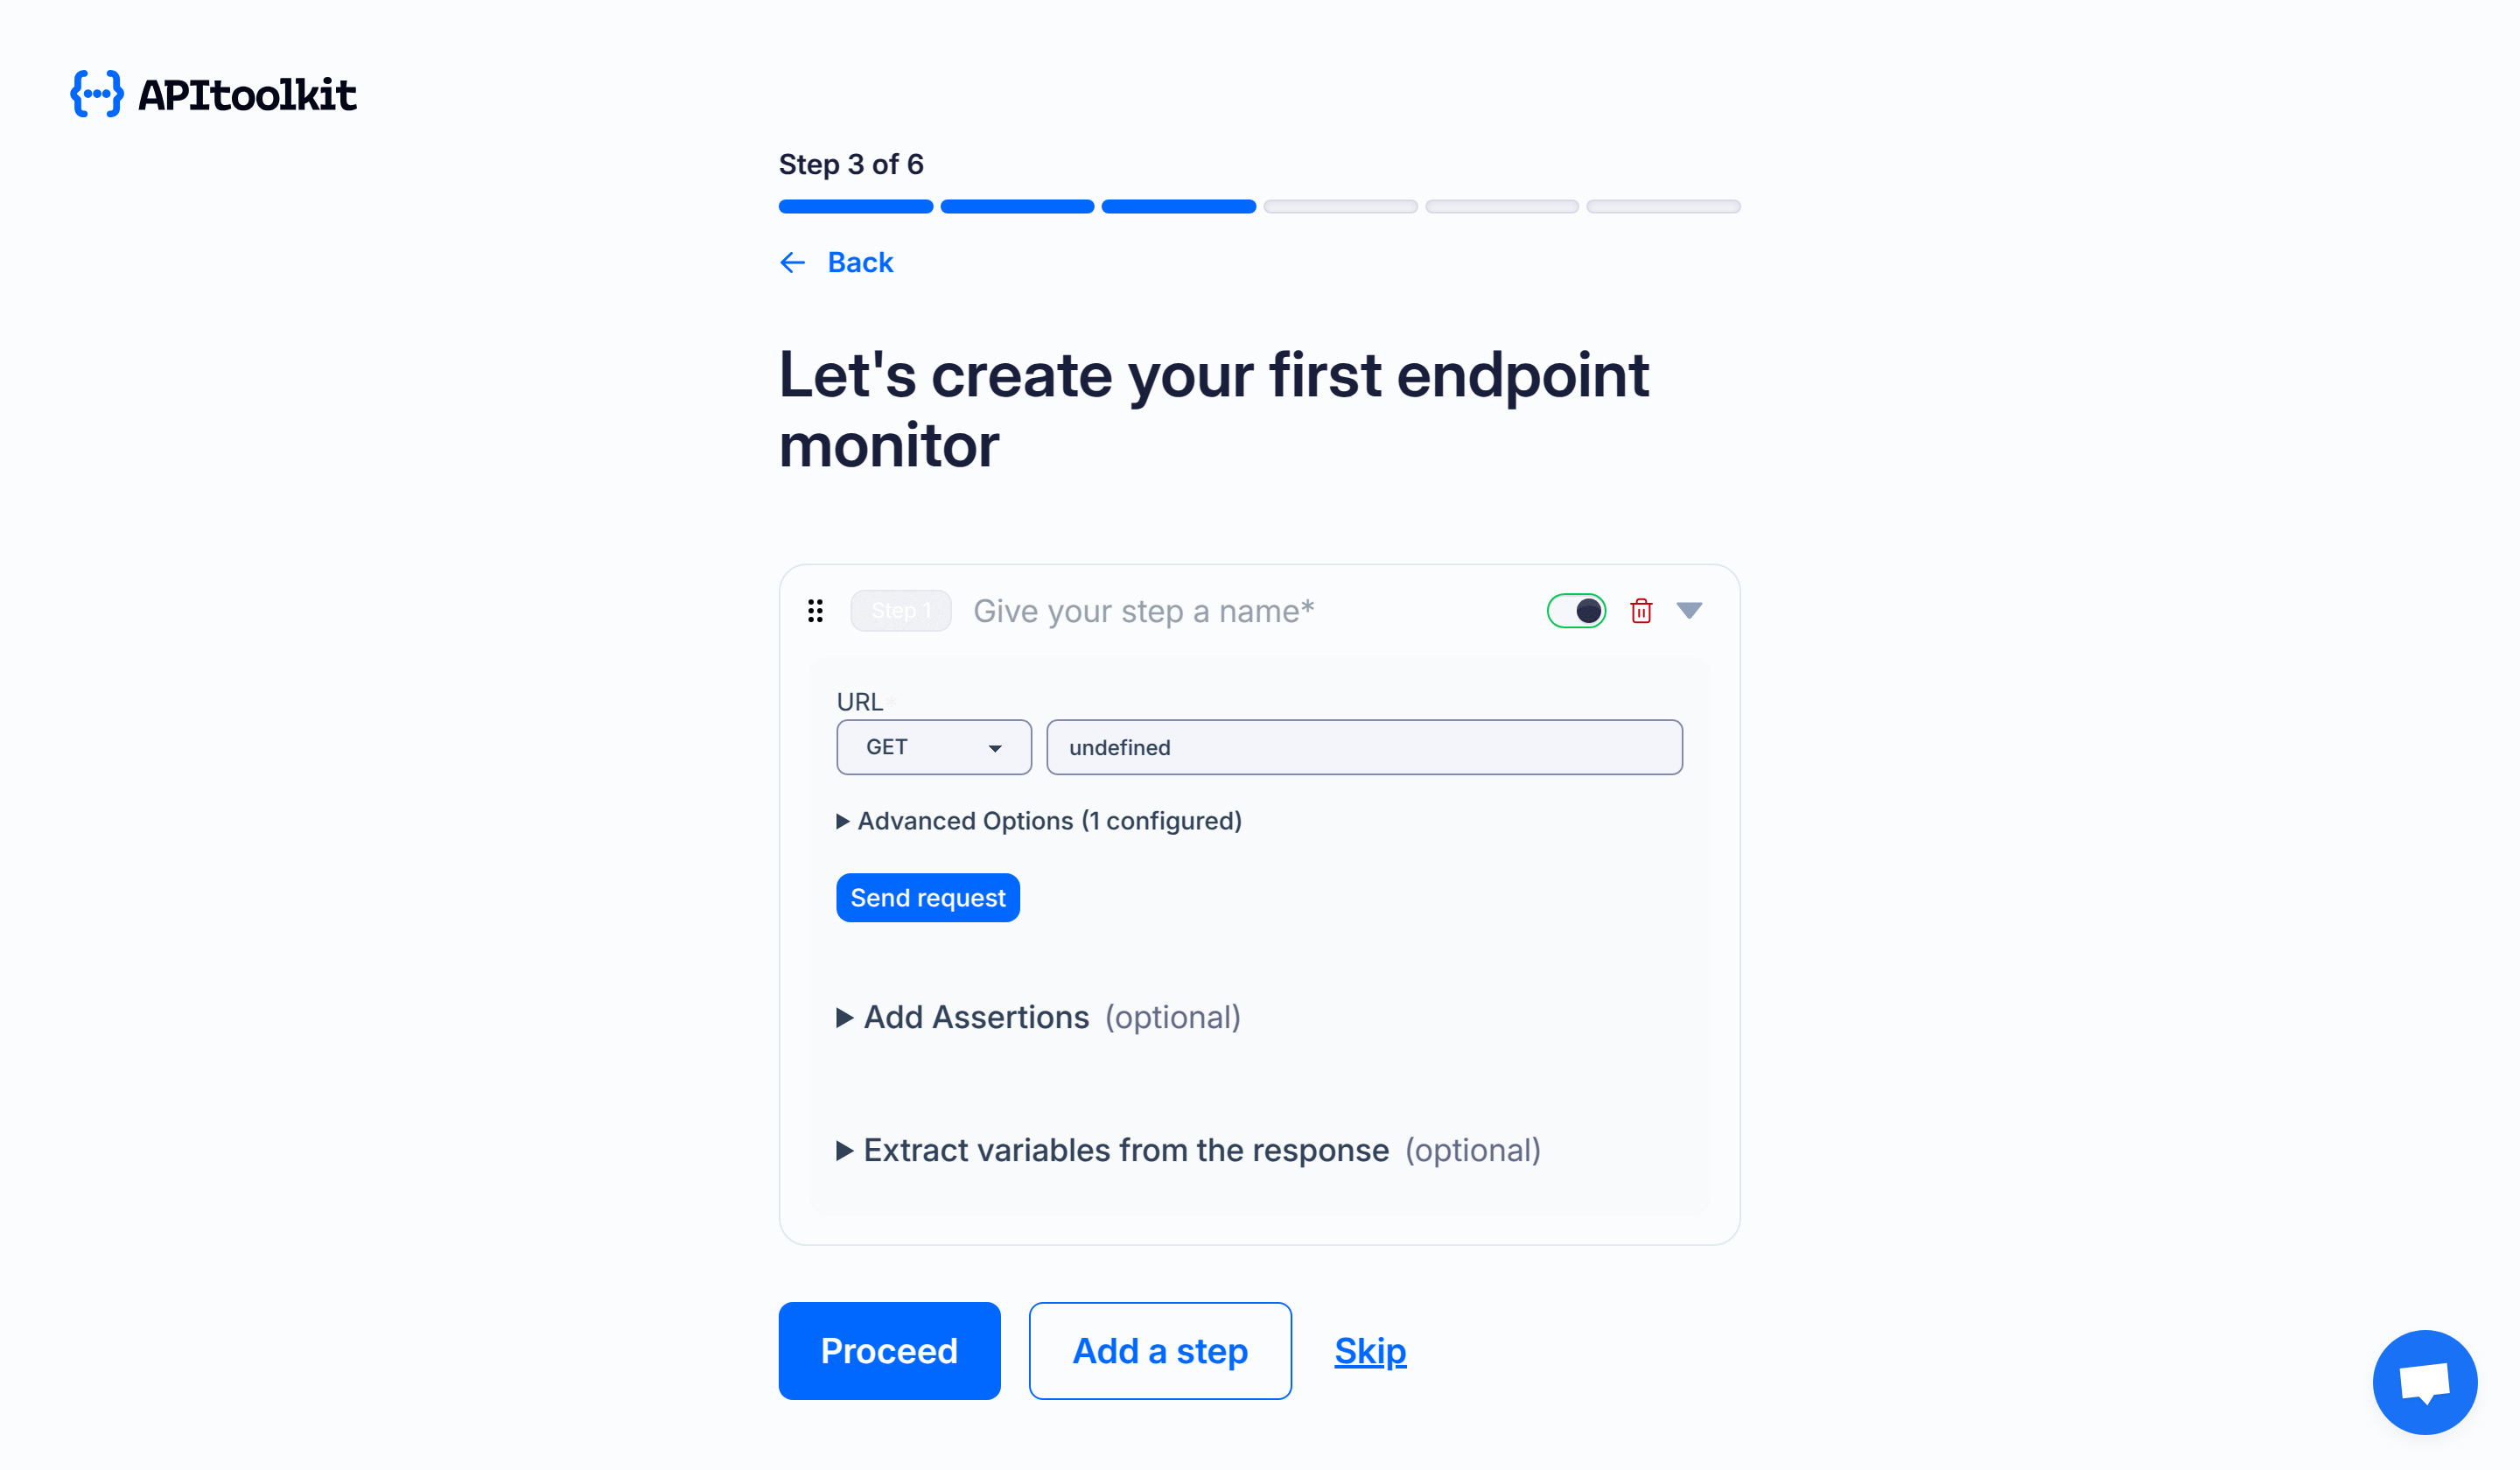
Create endpoint: Create an endpoint you’d like to monitor and choose the request type(optional).
-
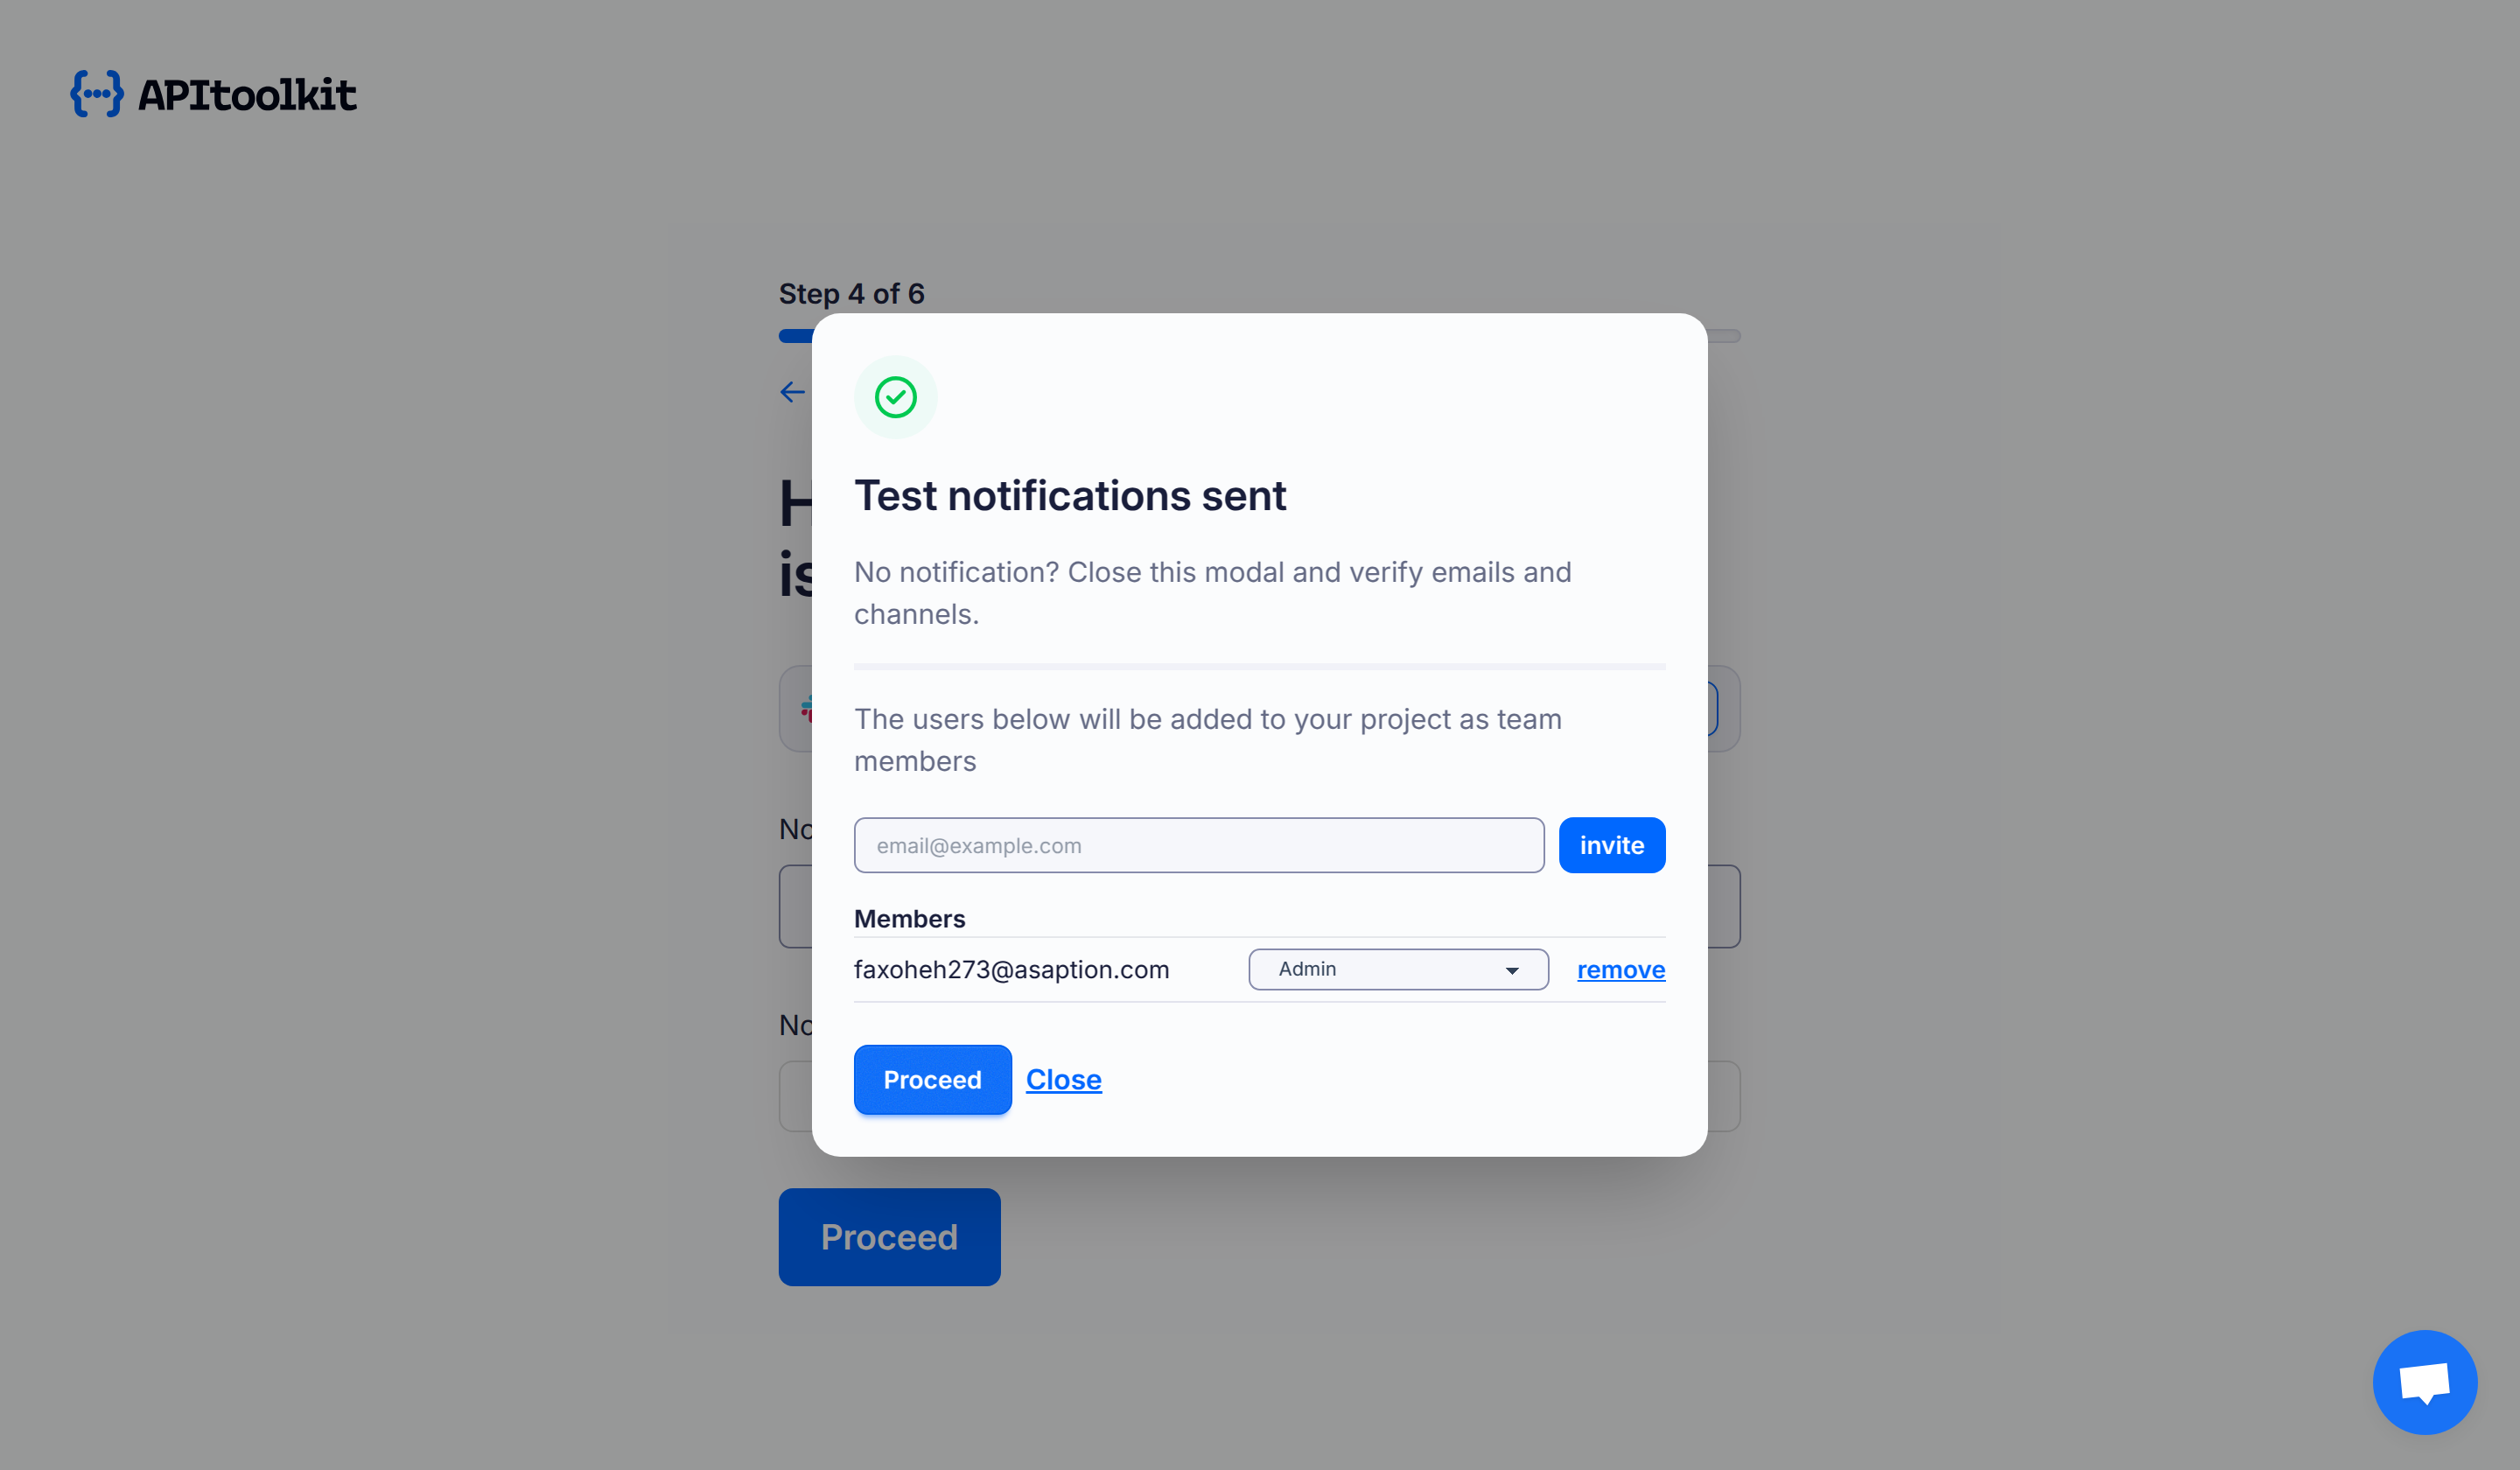
Set notifications: Connect your project to Slack, Discord, Email or your phone number to get notified when something goes wrong(optional).

-
Add member: Invite someone else to collaborate on the project (optional).
-
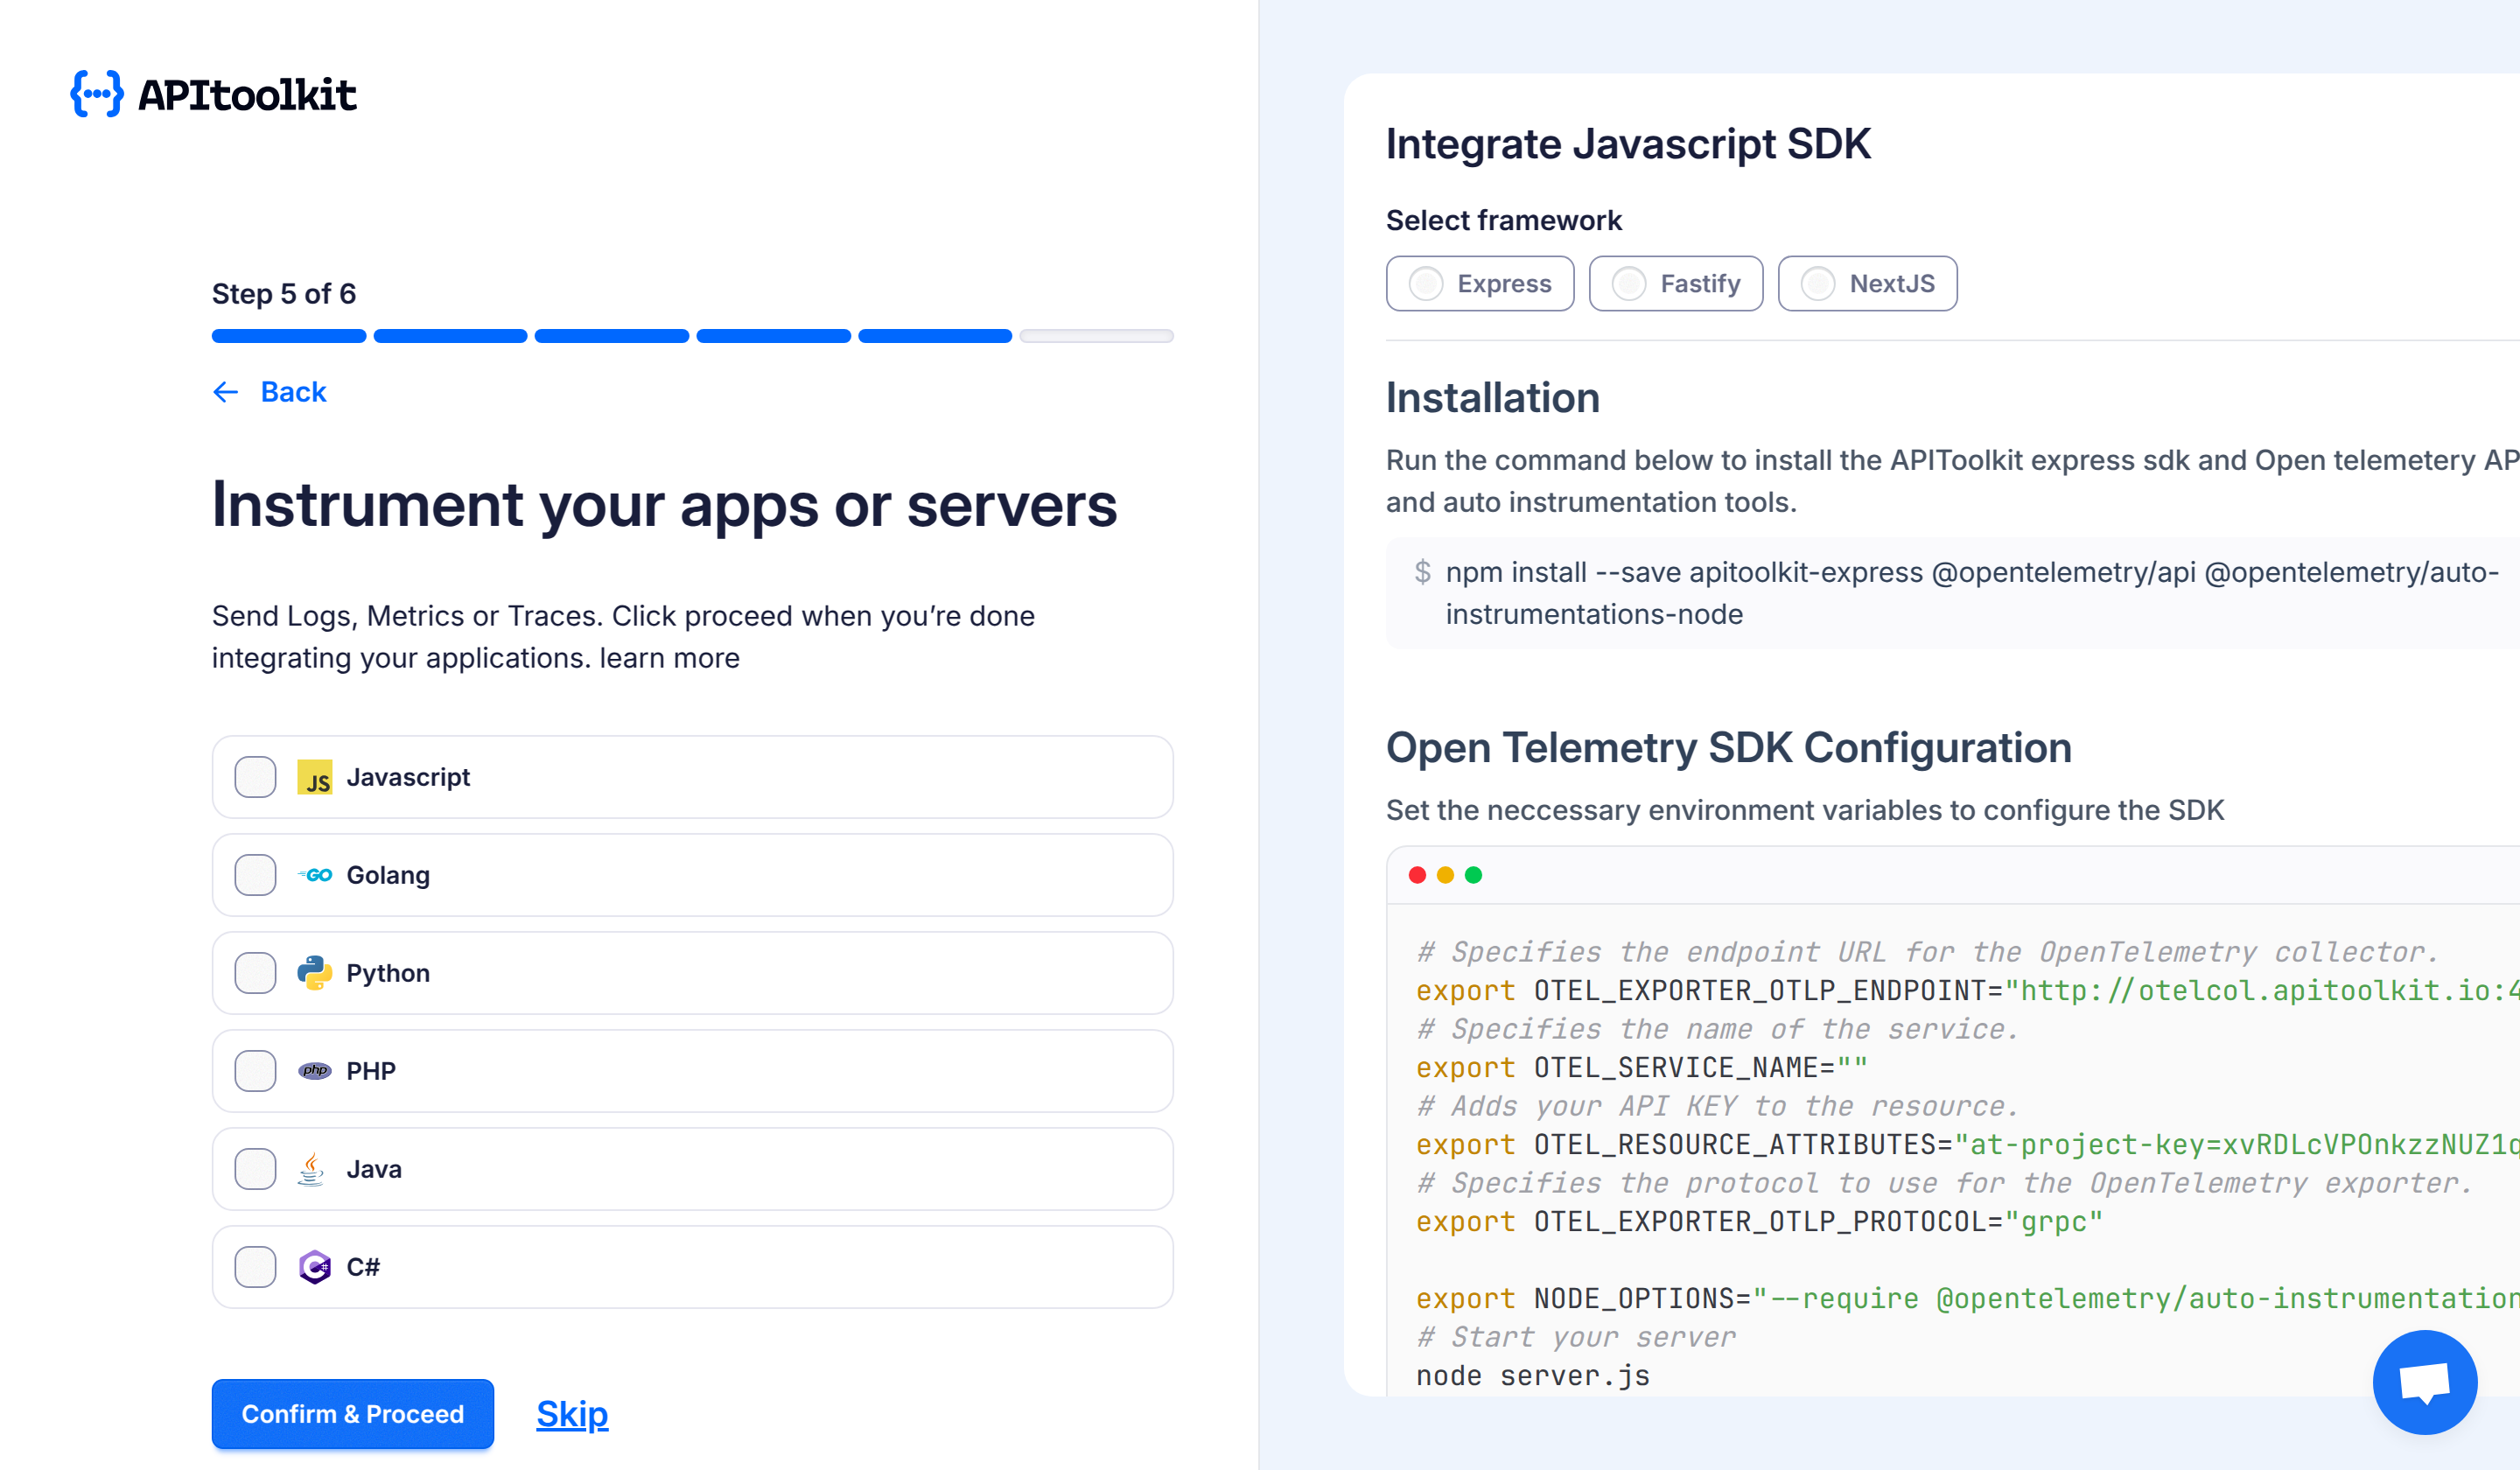
Integration examples: Select an SDK to see the integration guide for it (optional).
-
Plan: Select the plan you want to subscribe to (required).
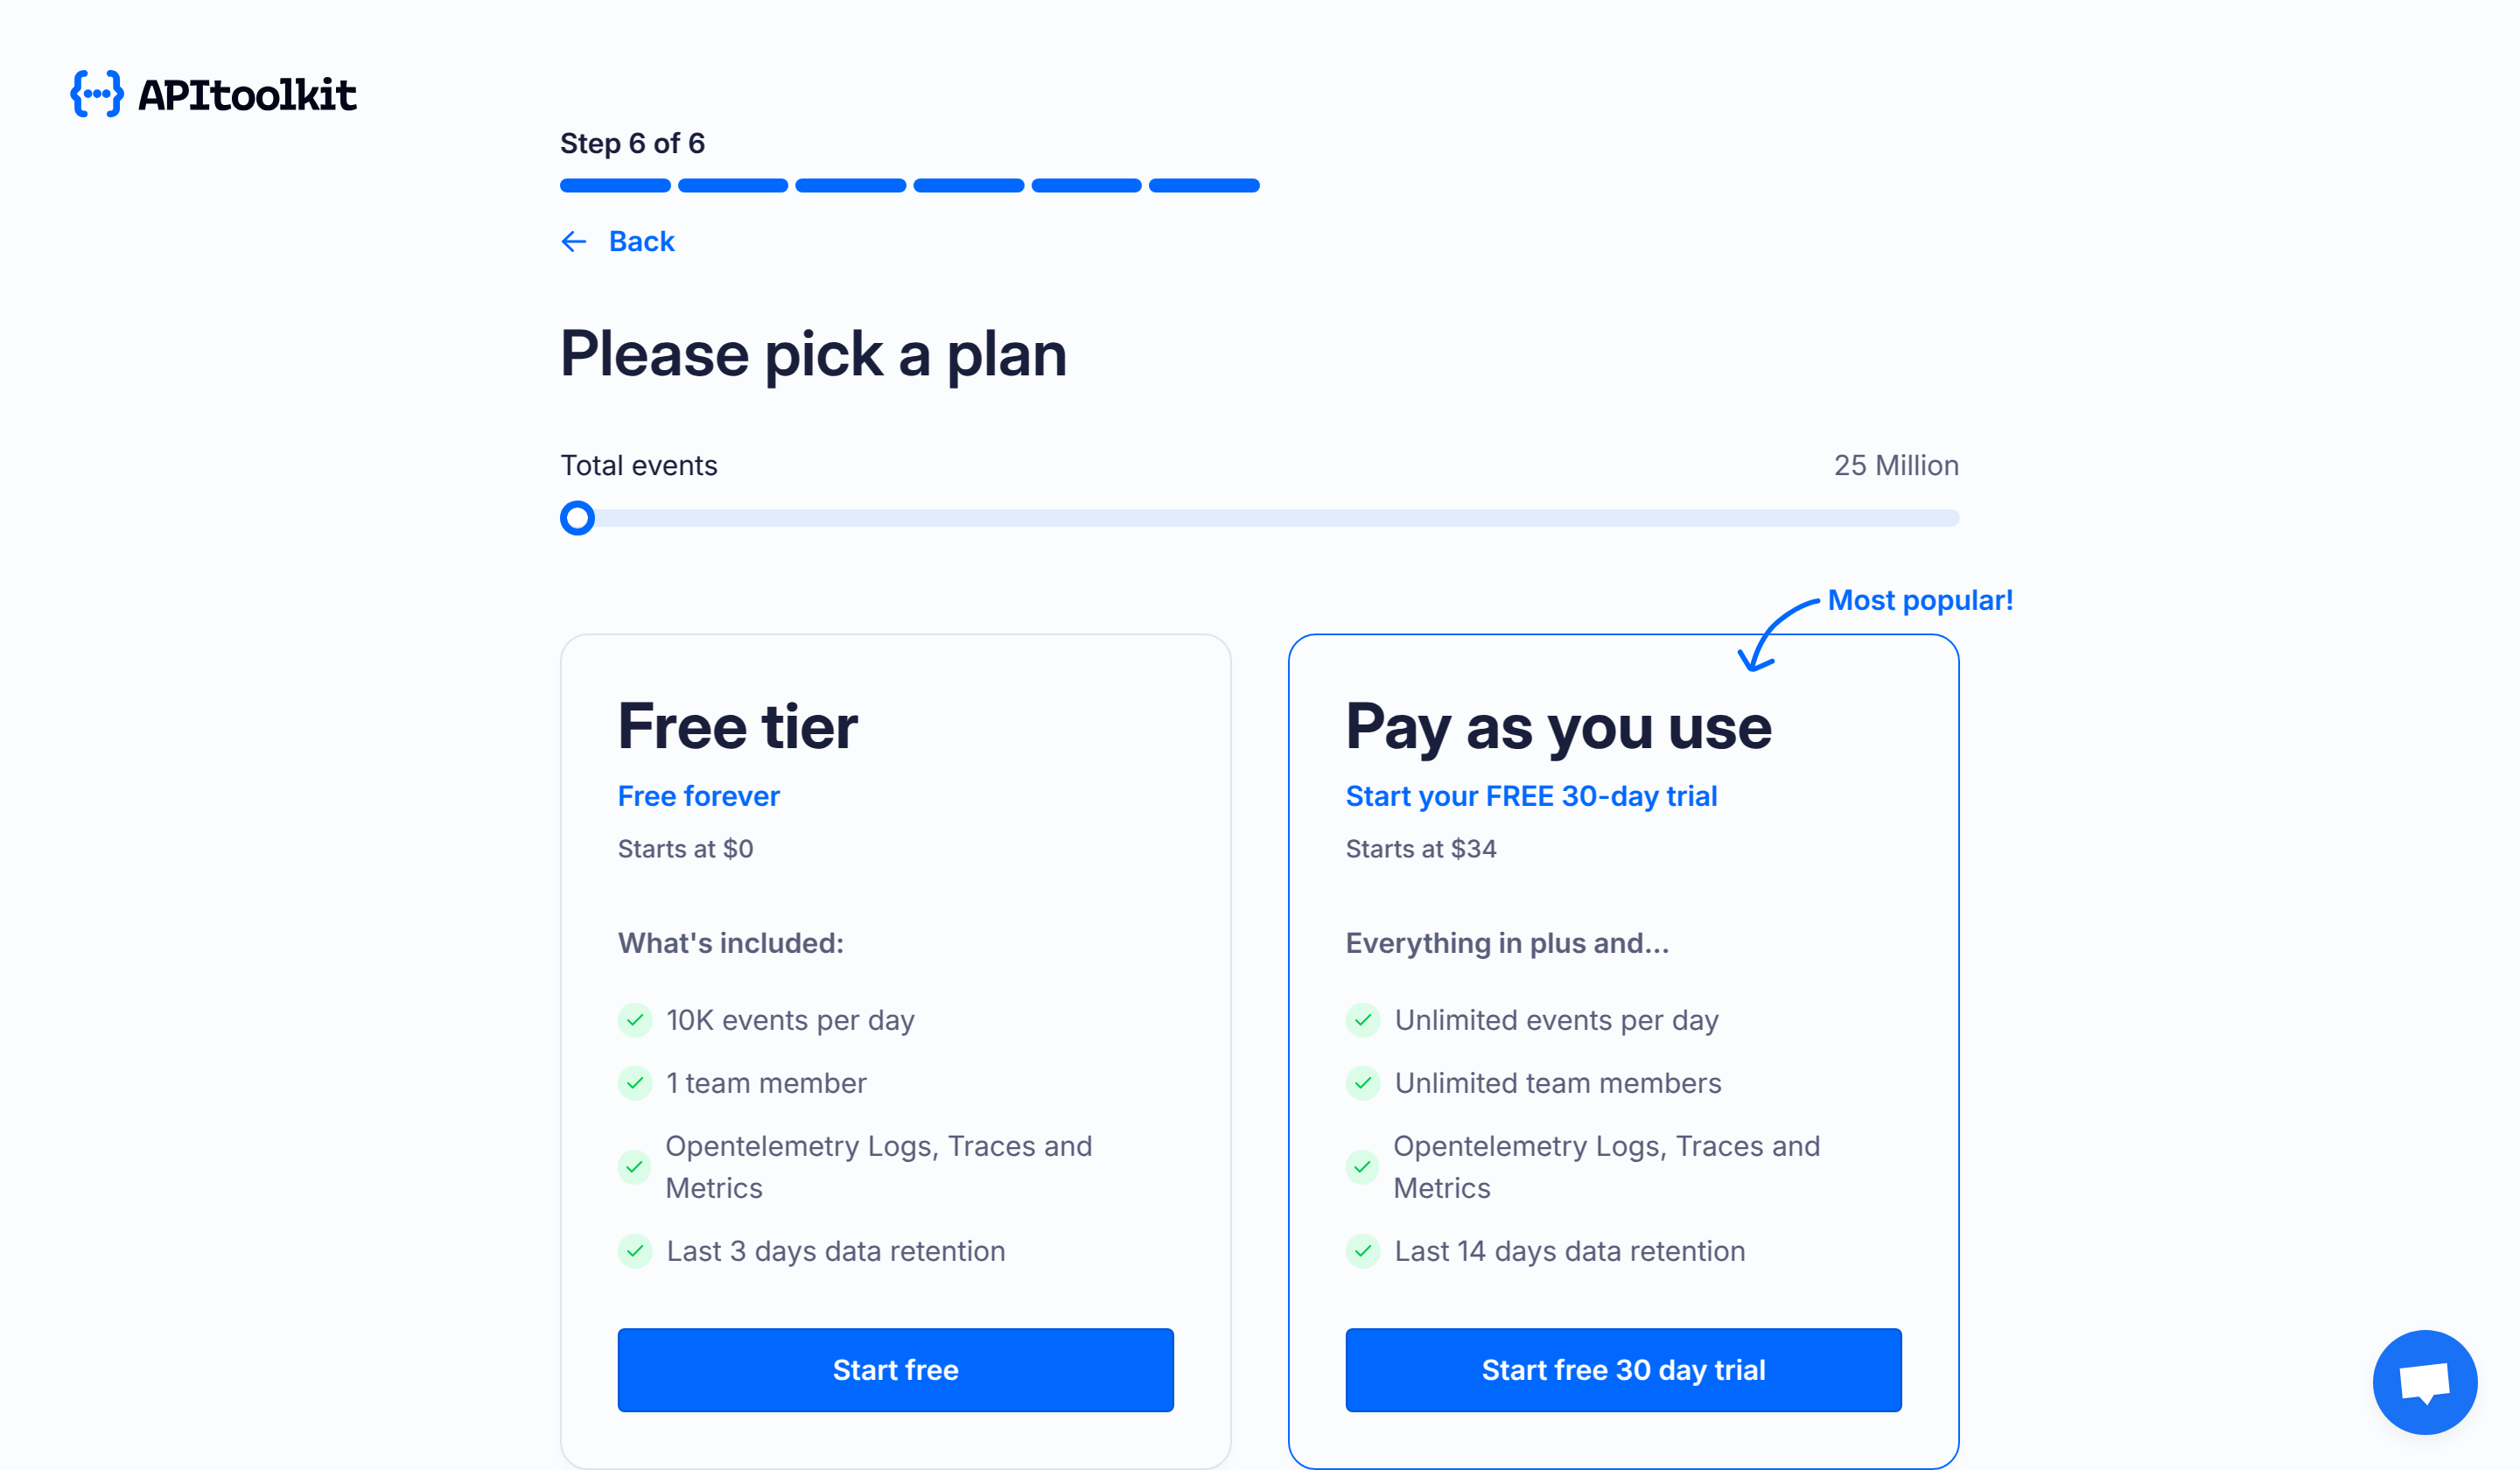
Once you are done providing the required values and your payment details (if you chose the Pay as you use plan), click the Proceed button. Your new project will then be created and you will be redirected to your APItoolkit dashboard.
③ Fetch API Key
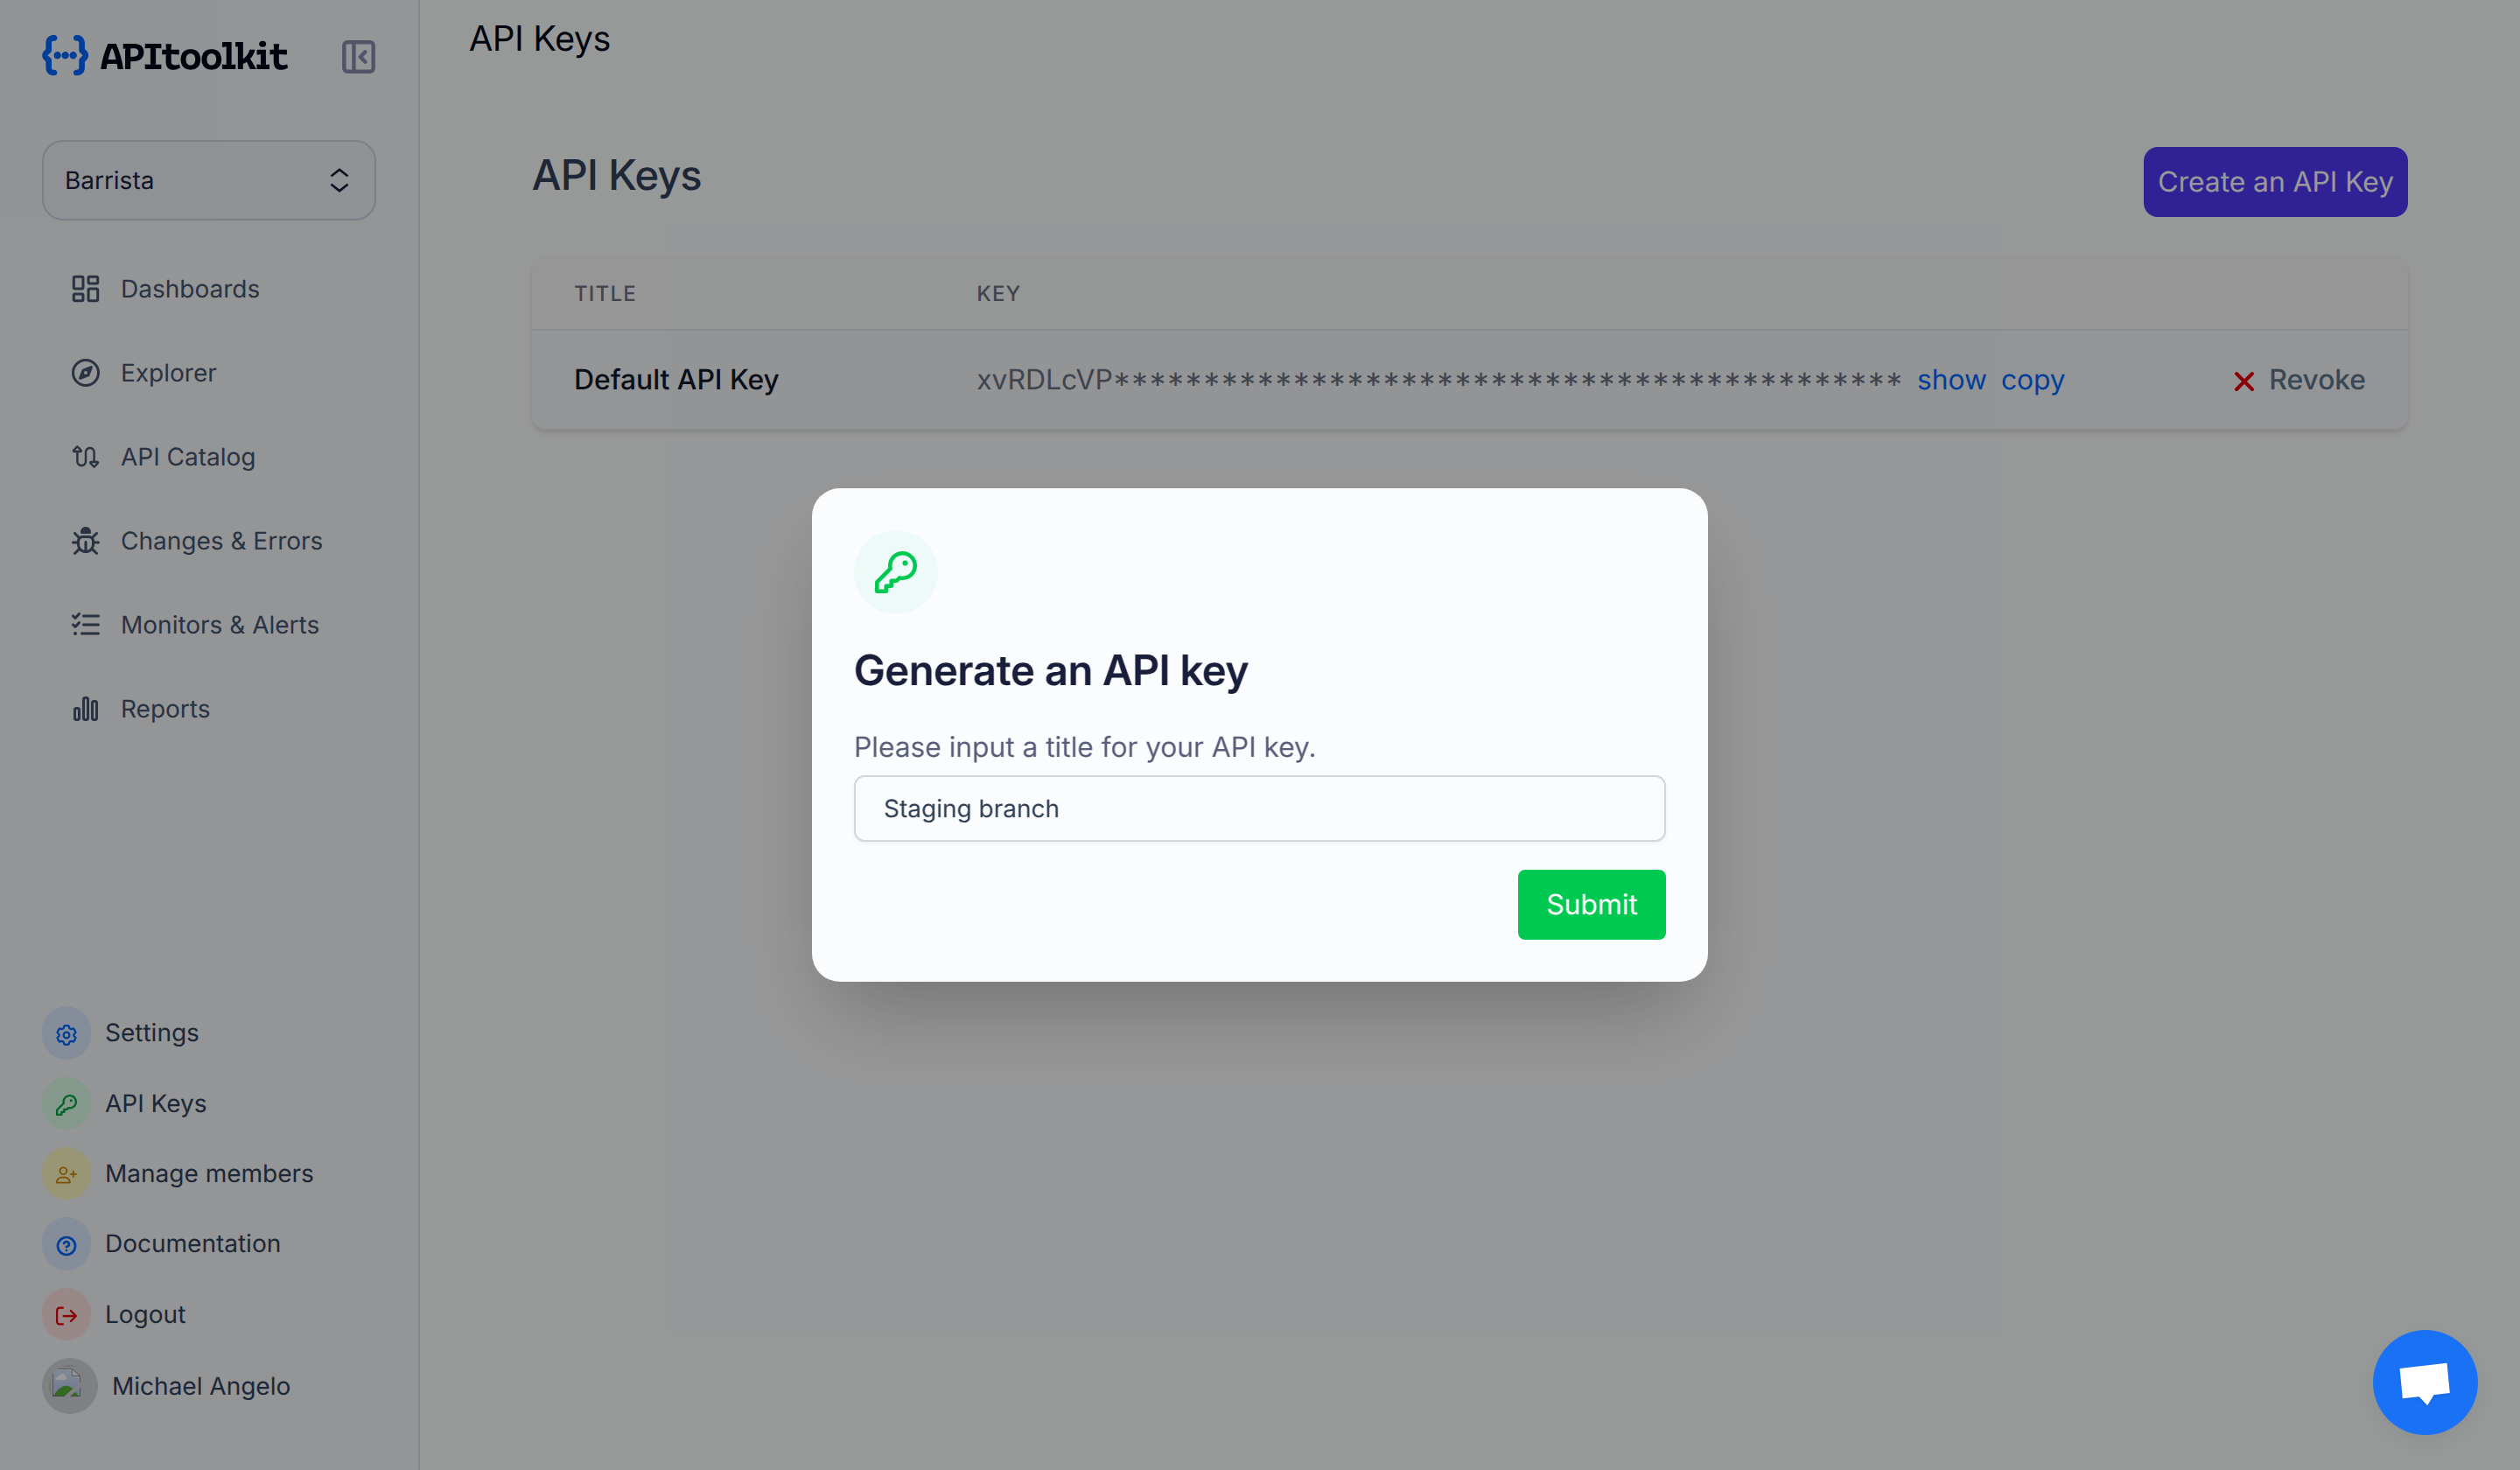
Once your project is created, an API key is automatically generated for you (which you can already see being used in the integration examples). To fetch your API key anytime or create a new one, kindly click on the API keys at the bottom-left section of the dashboard. You will then be redirected to another page where you can access the API key or create a new one.
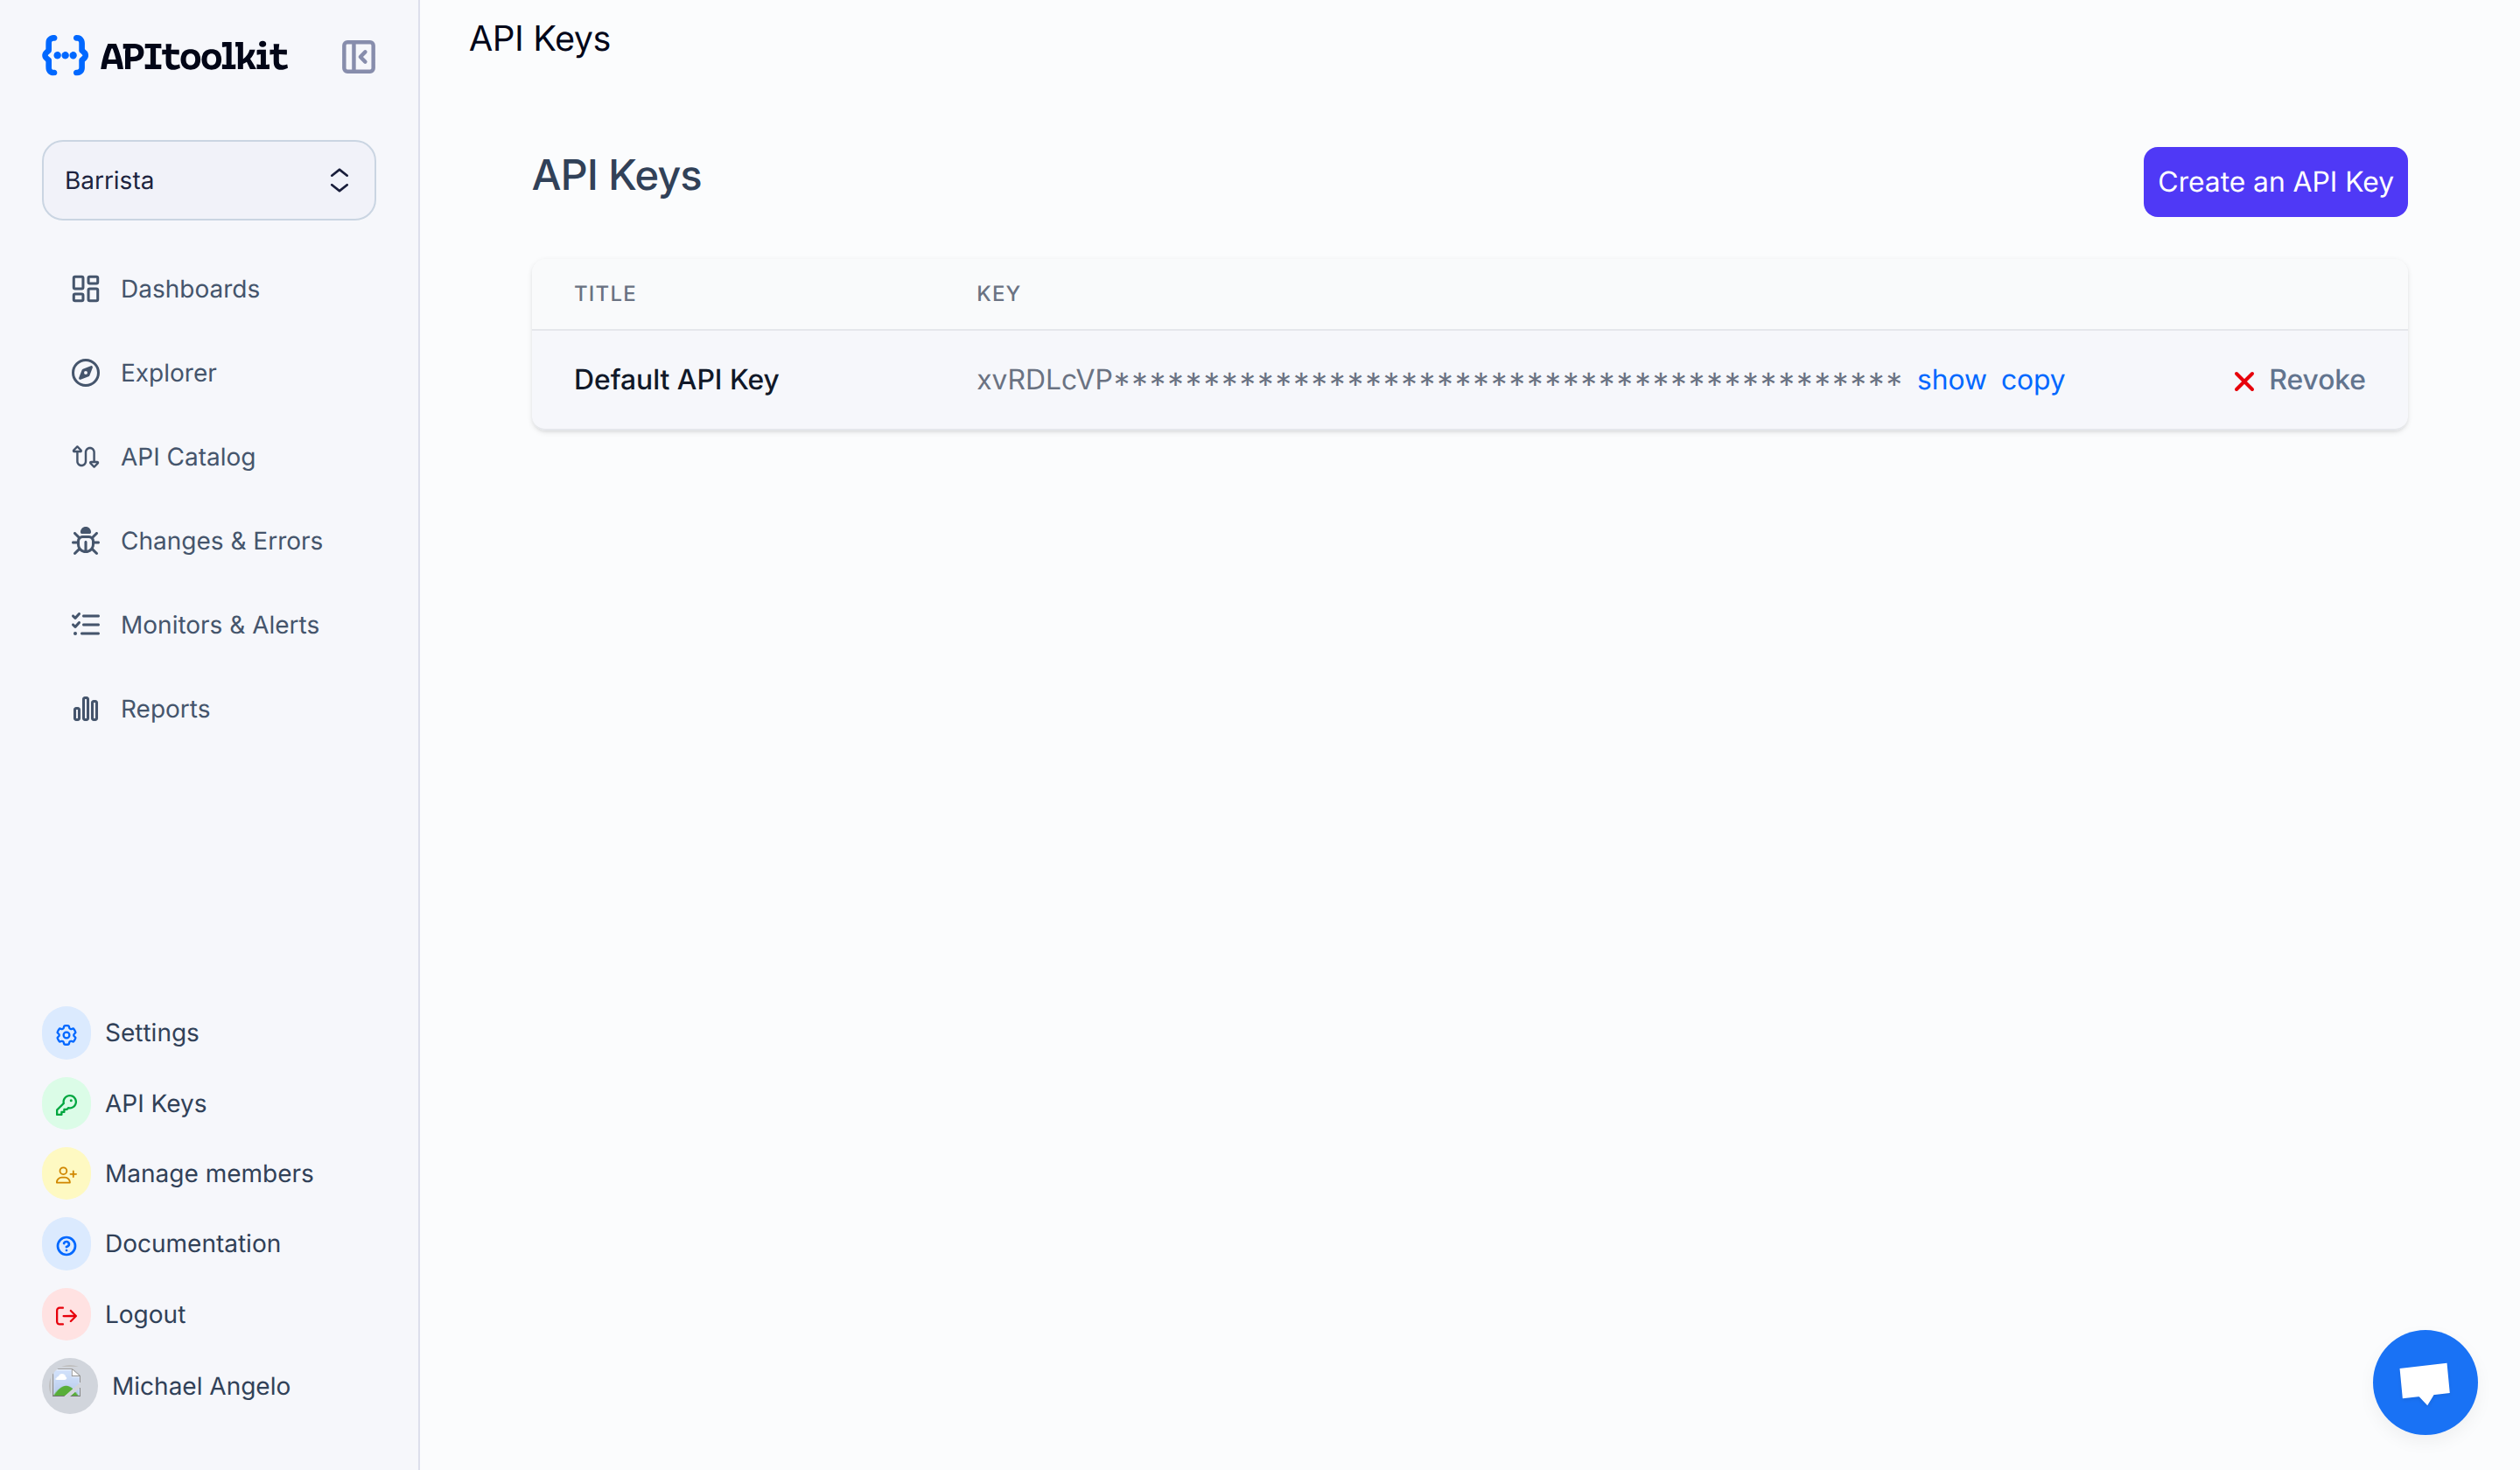
Usually you will create an API key for the different environments you want APItoolkit to track from (e.g., development, staging, production, etc.) and use each of the API keys when integrating with any of our SDK.
④ Integrate SDK
To allow APItoolkit to begin monitoring your API and for you to start exploring your data through our platform, you need to integrate one of our SDKs into your application. We currently support 17+ web frameworks in different programming languages (if we do not support your framework, kindly send us an email and we will create a new SDK for you!).
To integrate with your preferred framework, kindly follow the quick guidelines below for some of the popular SDKs.
ExpressJS
Here’s how to quickly integrate APItoolkit into your Express.js application.
Installation
npm install apitoolkit-express
Integrate
import express from "express";
import { APIToolkit } from "apitoolkit-express";
const app = express();
const apitoolkitClient = APIToolkit.NewClient({ apiKey: "{YOUR_API_KEY_HERE}" });

app.use(apitoolkitClient.expressMiddleware)
// All controllers should live here
app.get("/", (req, res) => {
});
// ...
// The error handler must be before any other error middleware
// and after all controllers
app.use(apitoolkitClient.errorHandler)
⏭️: Read the ExpressJS SDK guide to learn more.
Elixir Phoenix
Here’s how to quickly integrate APItoolkit into your Elixir application.
Installation
{:apitoolkit_phoenix, "~> 0.1.1"}
Integrate
// route.ex file
defmodule HelloWeb.Router do
import ApitoolkitPhoenix

pipeline :api do
plug ApitoolkitPhoenix,
config: %{
api_key: "{YOUR_API_KEY_HERE}",
}
end

// Automatic error handling
@impl Plug.ErrorHandler
def handle_errors(conn, err) do
conn = report_error(conn, err)
json(conn, %{message: "Something went wrong"})
end
end
⏭️: Read the Phoenix SDK guide to learn more.
PHP Laravel
Here’s how to quickly integrate APItoolkit into your Laravel application.
Installation
composer require apitoolkit/apitoolkit-laravel
Integrate
First, set the APITOOLKIT_KEY environment variable to your .env file.
APITOOLKIT_KEY=xxxxxx-xxxxx-xxxxxx-xxxxxx-xxxxxx
Next, register the middleware in your app/Http/Kernel.php file.
<?php

namespace App\Http;

use Illuminate\Foundation\Http\Kernel as HttpKernel;

class Kernel extends HttpKernel
{
  protected $middlewareGroups = [
    'api' => [
    \APIToolkit\Http\Middleware\APIToolkit::class,
    ],
  ];
}
⏭️: Read the Laravel SDK guide to learn more.
.NET Core
Here’s how to quickly integrate APItoolkit into your .NET application.
Installation
dotnet add package ApiToolkit.Net
Integrate
var config = new Config
{
    Debug = true, # Set debug flags to false in production
    ApiKey = "{YOUR_API_KEY_HERE}"
};
var client = await APIToolkit.NewClientAsync(config);
# Register the middleware to use the initialized client
app.Use(async (context, next) =>
{
    var apiToolkit = new APIToolkit(next, client);
    await apiToolkit.InvokeAsync(context);
});
⏭️: Read the .Net Core SDK guide to learn more.
Django
Here’s how to quickly integrate APItoolkit into your Django application.
Installation
pip install apitoolkit-django
Integrate
MIDDLEWARE = [
    ...,
    'apitoolkit_django.APIToolkit',
    ...,
]
var config = new Config
{
    Debug = true, # Set debug flags to false in production
    ApiKey = "{YOUR_API_KEY_HERE}"
};
⏭️: Read the Django SDK guide to learn more.
Golang Native
Here’s how to quickly integrate APItoolkit into your native Golang application.
Installation
go get -u github.com/apitoolkit/apitoolkit-go
Integrate
package main

import (
"net/http"
"context"
apitoolkit "github.com/apitoolkit/apitoolkit-go"
)

func main() {
// Initialize APIToolkit client with your generated API key
ctx := context.Background()
apitoolkitClient, err := apitoolkit.NewClient(ctx, apitoolkit.Config{APIKey: "{YOUR_API_KEY_HERE}"})
if err != nil {
panic(err)
}

http.Handle("/", apitoolkitClient.Middleware(http.HandlerFunc(func(w http.ResponseWriter, r *http.Request) {
w.Write([]byte("Hello, World!"))
})))
http.ListenAndServe(":8080", nil)
}
⏭️: Read the Go Native SDK guide to learn more.
FastAPI
Here’s how to quickly integrate APItoolkit into your FastAPI application.
Installation
pip install apitoolkit-fastapi
Integrate
from fastapi import FastAPI
from apitoolkit_fastapi import APIToolkit

app = FastAPI()

apitoolkit = APIToolkit(api_key="{YOUR_API_KEY_HERE}")

app.middleware('http')(apitoolkit.middleware)
⏭️: Read the FastAPI SDK guide to learn more.
PHP Symfony
Here’s how to quickly integrate APItoolkit into your Symfony PHP application.
Installation
composer require apitoolkit/apitoolkit-symfony
Integrate
First, set the APITOOLKIT_KEY environment variable in your .env file.
APITOOLKIT_KEY=xxxxxx-xxxxx-xxxxxx-xxxxxx-xxxxxx
Next, register the service in your services.yaml file.
services:
APIToolkit\EventSubscriber\APIToolkitService:
arguments:
$apiKey: '%env(APITOOLKIT_KEY)%'
# Optional: if you want to cache login result add this cache poll instance via setter injection
calls:
- setCachePool: ['@PutYourCachePoolServiceHere']
tags:
- { name: 'kernel.event_subscriber' }
⏭️: Read the Symfony SDK guide to learn more.
Flask
Here’s how to quickly integrate APItoolkit into your Flask application.
Installation
pip install apitoolkit-flask
Integrate
from flask import Flask
from apitoolkit_flask import APIToolkit

app = Flask(__name__)

apitoolkit = APIToolkit(api_key="{YOUR_API_KEY_HERE}", debug=True)

@app.before_request
def before_request():
  apitoolkit.beforeRequest()

@app.after_request
def after_request(response):
  apitoolkit.afterRequest(response)
  return response
⏭️: Read the Flask SDK guide to learn more.
Golang Gin
Here’s how to quickly integrate APItoolkit into your Gin application.
Installation
go get github.com/apitoolkit/apitoolkit-go
Integrate
package main

import (
"context"
apitoolkit "github.com/apitoolkit/apitoolkit-go"
"github.com/gin-gonic/gin"
)

func main() {

    // Initialize the client using your apitoolkit.io generated apikey
    apitoolkitClient, err := apitoolkit.NewClient(context.Background(), apitoolkit.Config{APIKey: "{YOUR_API_KEY_HERE}"})
    if err != nil {
    	panic(err)
    }

    router := gin.New()

    // Register with the corresponding middleware of your choice. For Gin router, we use the GinMiddleware method.
    router.Use(apitoolkitClient.GinMiddleware)

}
⏭️: Read the Go Gin SDK guide to learn more.
AdonisJS
Here’s how to quickly integrate APItoolkit into your AdonisJS application.
Installation
npm install apitoolkit-adonis
Integrate
First, configure the package.
node ace configure apitoolkit-adonis
Next, set API key in a /conf/apitoolkit.ts file.
export const apitoolkitConfig = {
apiKey: "",
};
Then, add @ioc:APIToolkit to your global middlewares in the start/kernel.ts file.
Server.middleware.register([
  () => import("@ioc:Adonis/Core/BodyParser"),
  () => import("@ioc:APIToolkit"),
]);
⏭️: Read the AdonisJS SDK guide to learn more.
Fastify
Here’s how to quickly integrate APItoolkit into your Fastify.js application.
Installation
npm install apitoolkit-fastify
Integrate
import APIToolkit from "apitoolkit-fastify";
import Fastify from "fastify";

const fastify = Fastify();

// Create and initialize an instance of the APIToolkit
const apittoolkitClient = APIToolkit.NewClient({
  apiKey: "{YOUR_API_KEY_HERE}",
  fastify,
});
apitoolkitClient.init();
⏭️: Read the Fastify SDK guide to learn more.
NestJS
Here’s how to quickly integrate APItoolkit into your Nest.js application.
Installation
npm install apitoolkit-express
Integrate
import { NestFactory } from "@nestjs/core";
import { APIToolkit } from "apitoolkit-express";
import { AppModule } from "./app.module";
//
async function bootstrap() {
  const apiToolkitClient = APIToolkit.NewClient({
    apikey: "{YOUR_API_KEY_HERE}",
  });
  const app = await NestFactory.create(AppModule);
  app.use(apiToolkitClient.expressMiddleware);
  await app.listen(3000);
}
//
bootstrap();
⏭️: Read the NestJS SDK guide to learn more.
Golang Gorilla Mux
Here’s how to quickly integrate APItoolkit into your Golang Gorilla Mux application.
Installation
go get -u github.com/gorilla/mux
Integrate
package main

import (
  "context"
  "net/http"
  "github.com/gorilla/mux"
  apitoolkit "github.com/apitoolkit/apitoolkit-go"
)

func main() {
  ctx := context.Background()
  // Initialize the client using your generated apikey
  apitoolkitClient, err := apitoolkit.NewClient(ctx, apitoolkit.Config{APIKey: "{YOUR_API_KEY_HERE}"})
  if err != nil {
    panic(err)
  }

  r := mux.NewRouter()
  // Register middleware
  r.Use(apitoolkitClient.GorillaMuxMiddleware)
}
⏭️: Read the Go Gorilla Mux SDK guide to learn more.
Pyramid
Here’s how to quickly integrate APItoolkit into your Pyramid application.
Installation
pip install apitoolkit-pyramid
Integrate
from wsgiref.simple_server import make_server
from pyramid.config import Configurator
from pyramid.response import Response
from pyramid.view import view_config

@view_config(
route_name='home'
)
def home(request):
return Response('Welcome!')

if __name__ == '__main__':
setting = {"APITOOLKIT_KEY": "{YOUR_API_KEY_HERE}"}
with Configurator(settings=setting) as config:
# Add APItoolkit tween
config.add_tween("apitoolkit_pyramid.APIToolkit")
config.add_route('home', '/')
config.scan()
app = config.make_wsgi_app()
server = make_server('0.0.0.0', 6543, app)
server.serve_forever()
⏭️: Read the Pyramid SDK guide to learn more.
⑤ Acknowledge Endpoints or Anomalies
Once APItoolkit starts tracking data from your API, you will find the list of detected endpoints on the Explorer page and the list of detected anomalies on the Changes & Errors page or in the Ongoing Anomalies and Monitors section of the Dashboard page. You need to acknowledge each endpoint or anomaly so APItoolkit understands the shape of the endpoints on your API and uses that information for future anomaly detections. As a side effect, we then use this information to trigger the OpenAPI spec generation feature and send you scheduled reports. Hence, you should continuously acknowledge all important endpoints and anomalies you want us to monitor.
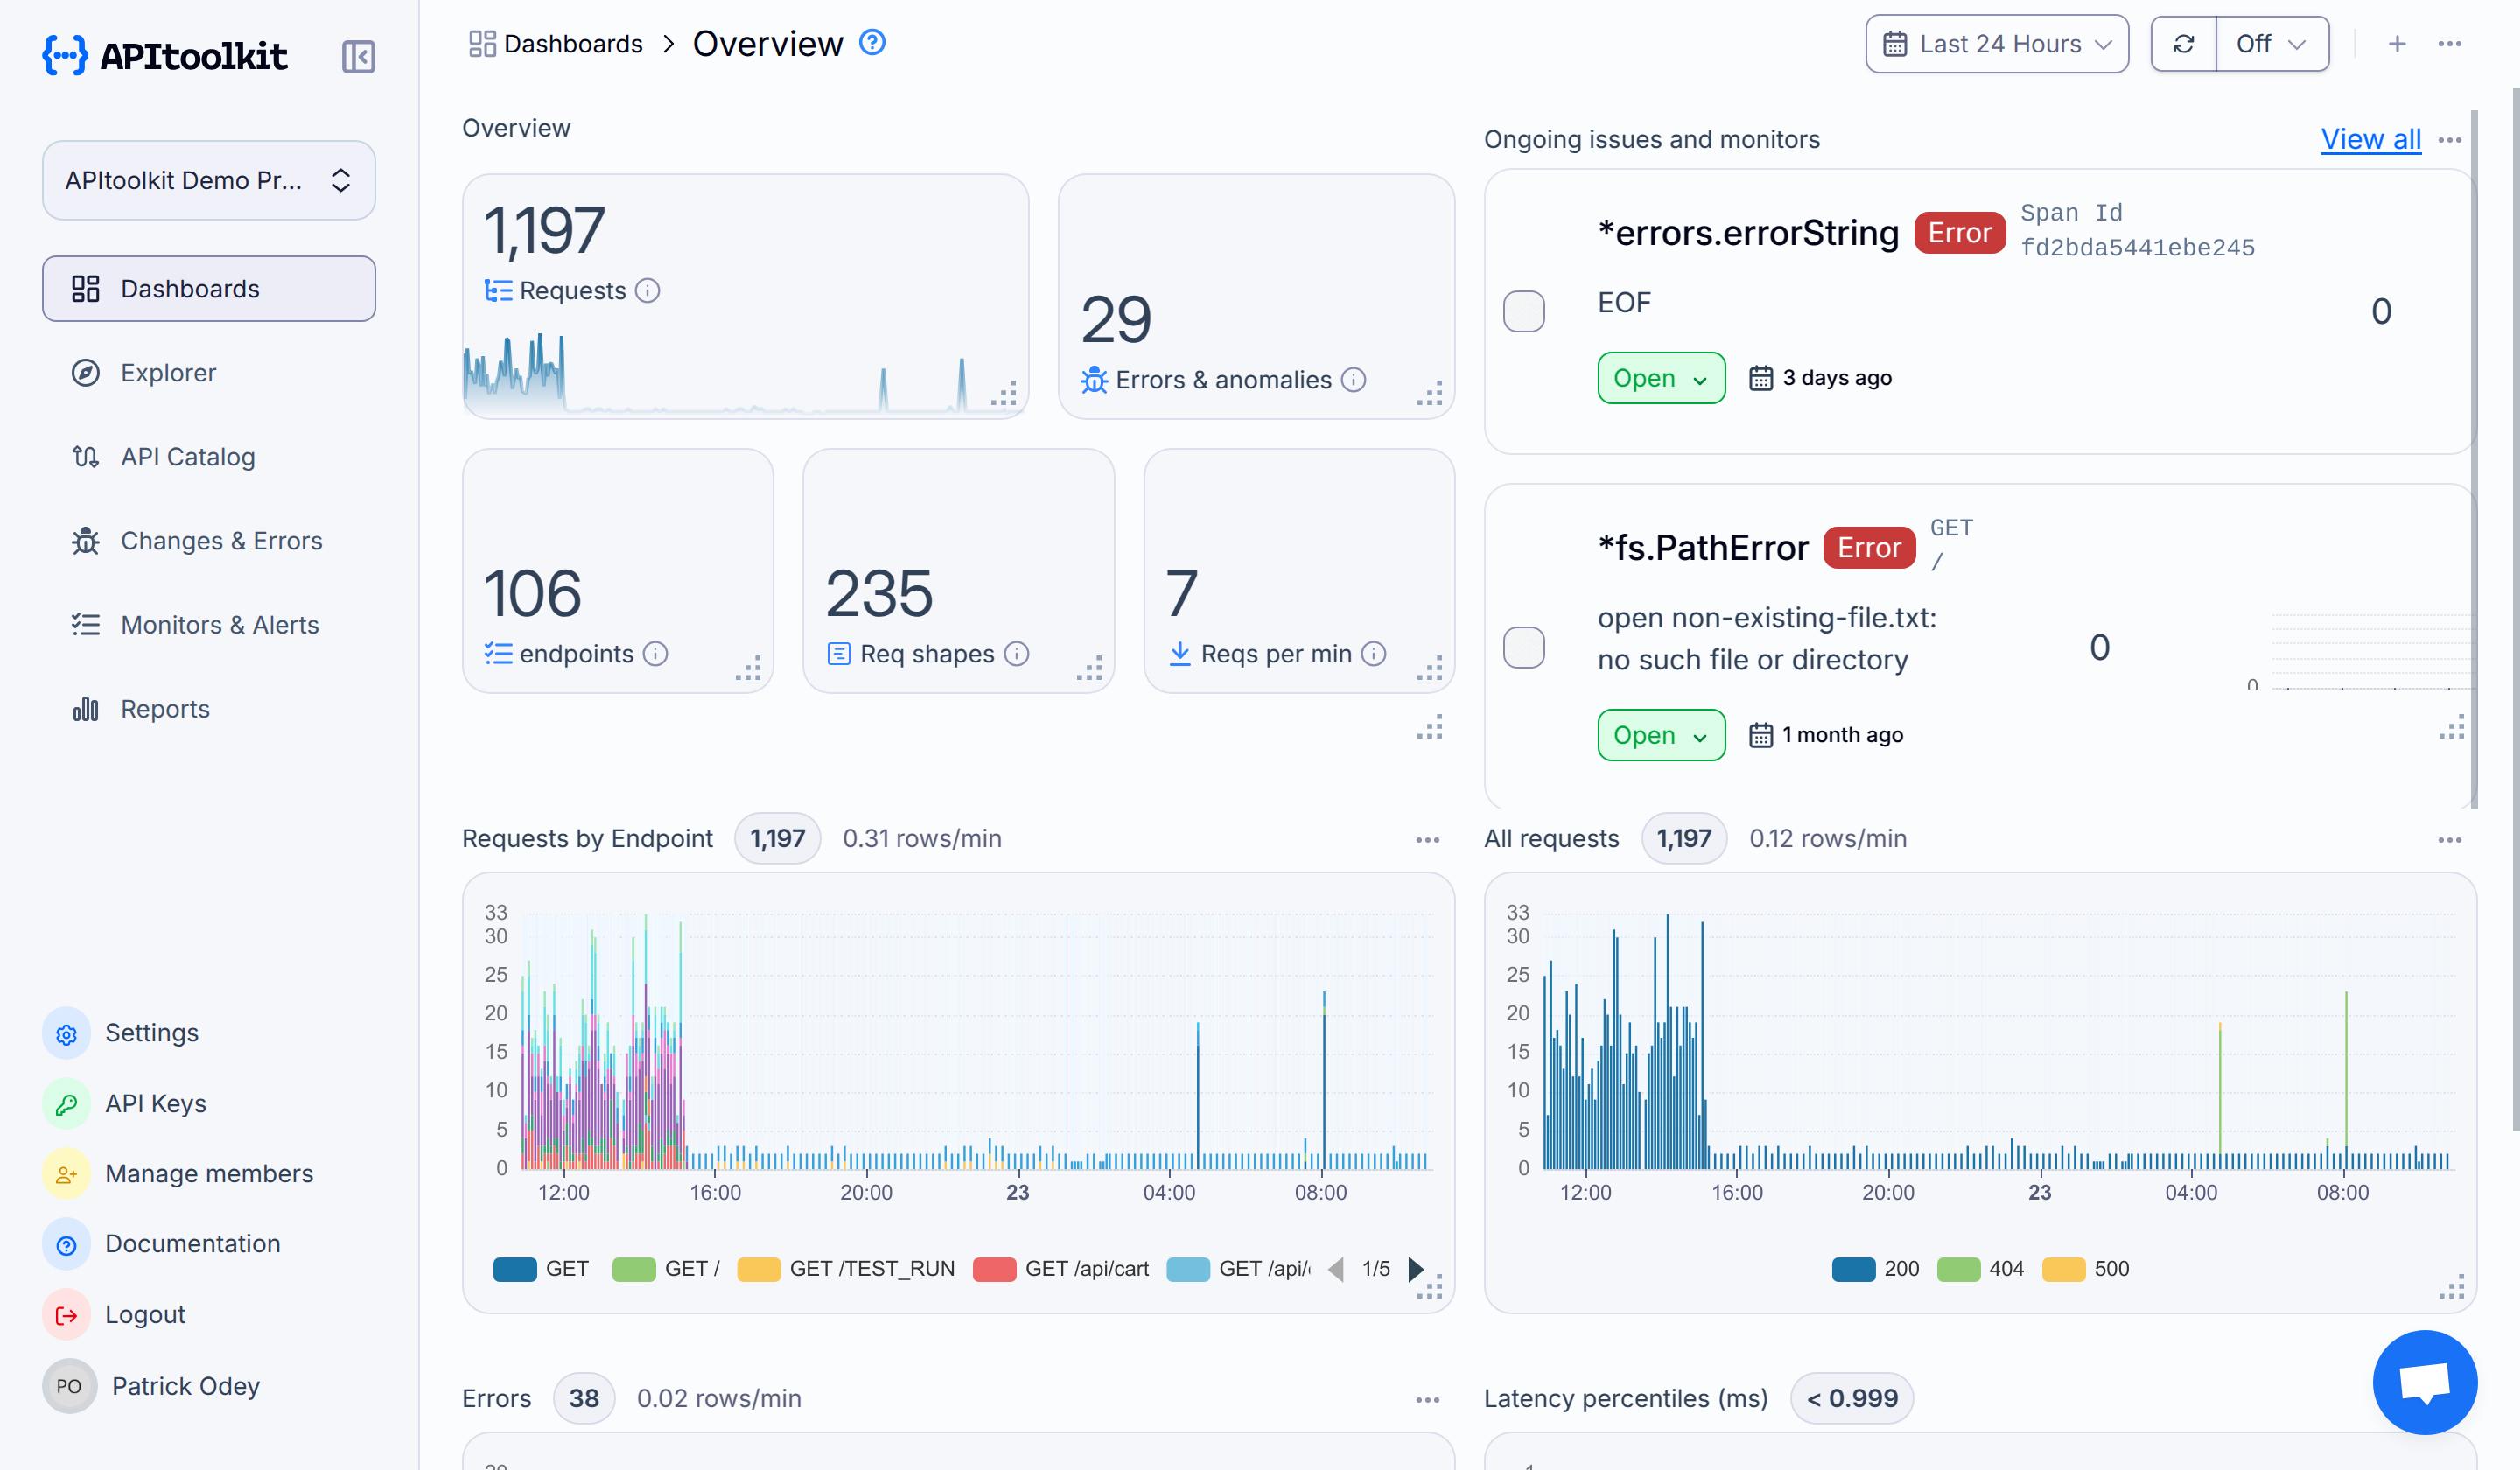
Once you successfully integrate APItoolkit into your application using any of our SDKs, we will start monitoring requests to your API and you can start acknowledging endpoints/anomalies, begin exploring the tracked data in the dashboard, and begin using all our powerful features.
Dashboard Overview
Here is a quick overview of all the available dashboard tabs and the features in them to aid your navigation:
| Get Started | The onboarding checklist that reminds you of all you need to integrate APItoolkit into your API and begin monitoring requests. |
| Dashboard | A summary of all the API analytics, including requests, anomalies, endpoints, etc. alongside all the requests visualized by status code, errors, endpoint, and latency percentiles. |
| Endpoints | A list of all endpoints detected from your API. |
| API Log Explorer | A list of all request logs with options to query them based on certain parameters and create alerts. |
| Changes & Errors | A list of all anomalies and errors detected from your API. |
| Outgoing Integrations | A list of all outgoing requests (external API calls) from your API. |
| API Tests | Explore and create manual or scheduled test assertions with multiple steps to validate HTTP responses in your API. |
| Reports | Explore your email reports history and update the frequency of the reports. |
Next Steps
Great work on getting this far! You are now on the path to testing and improving your backend systems.
Now that you have set up your new project with APItoolkit, you should explore the pages below to learn even more.